

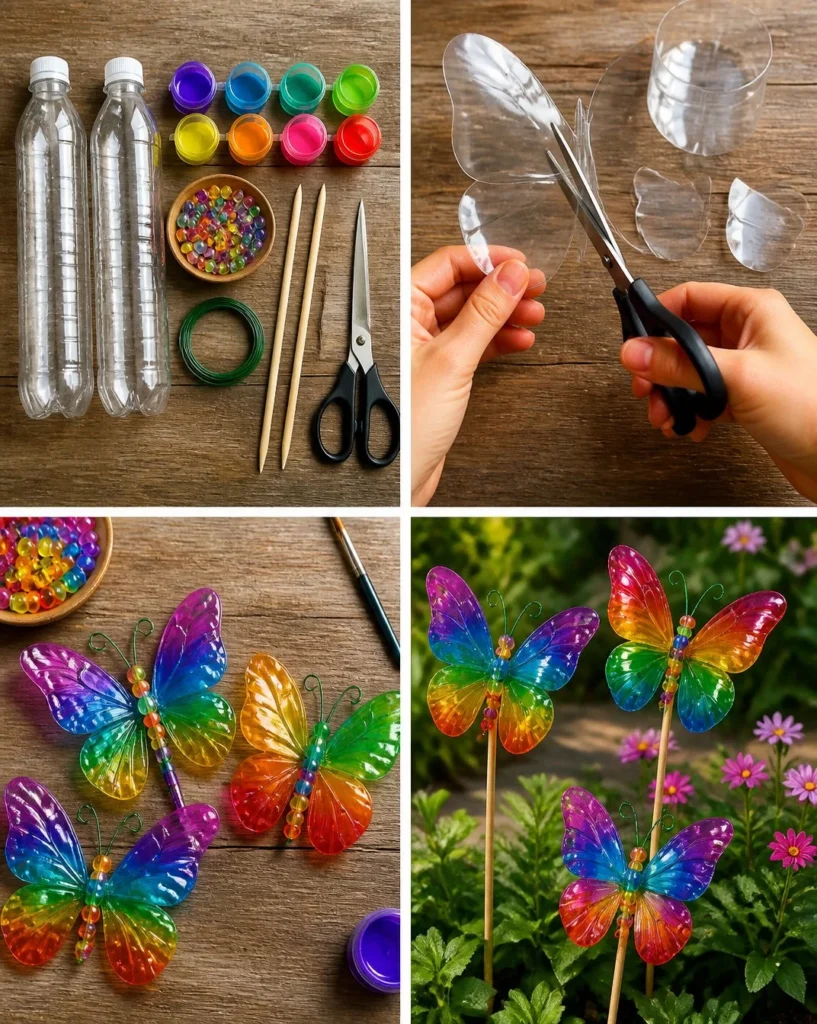
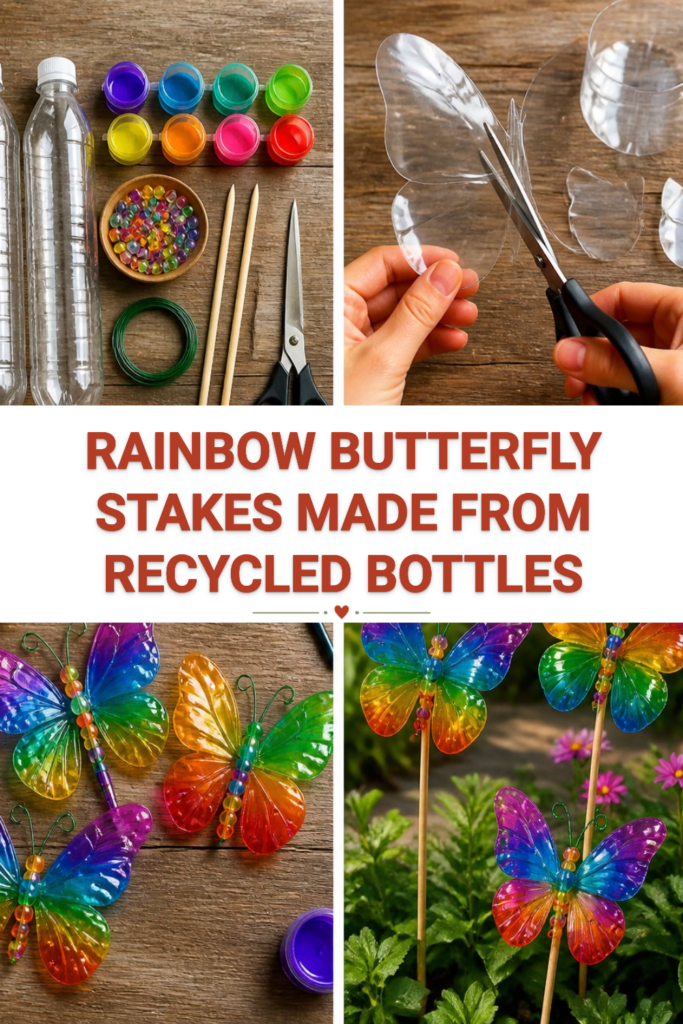
Rainbow Butterfly Stakes Made from Recycled Bottles
Transforming recyclable plastic bottles into eye-catching garden decorations is not just creative; it’s also a wonderful way to introduce kids to the joy of crafting while being eco-friendly. In this project, you’ll make dazzling Rainbow Butterfly Stakes that flutter with color and shimmer in the sunlight. These handmade decorations can brighten up your garden or yard, adding vibrancy and charm to your outdoor space.
Let’s dive into this colorful adventure and create delightful butterfly stakes from everyday materials that would otherwise go to waste!
Why You’ll Enjoy This Project
- Eco-Friendly Fun: This project promotes recycling, turning plastic bottles into beautiful art instead of waste.
- Creative Expression: Children and adults alike can unleash their creativity by choosing colors, patterns, and designs.
- Simple Steps: With just a few materials and straightforward steps, you can create stunning decorations without a lot of fuss.
- Interactive and Engaging: It’s a great way to bond as a family, encouraging teamwork and communication.
- Personalized Décor: Each butterfly can be uniquely styled, making them special additions to your garden.
Materials You’ll Need
- 2 clear plastic bottles
- Translucent rainbow paint (or any colors you prefer)
- Colorful beads
- Craft wire
- 3 wooden stakes
- Scissors
Note: You can use any clear plastic bottles, such as soda or water bottles. For the paint, look for a brand that provides a nice translucent finish to show off those vibrant hues!
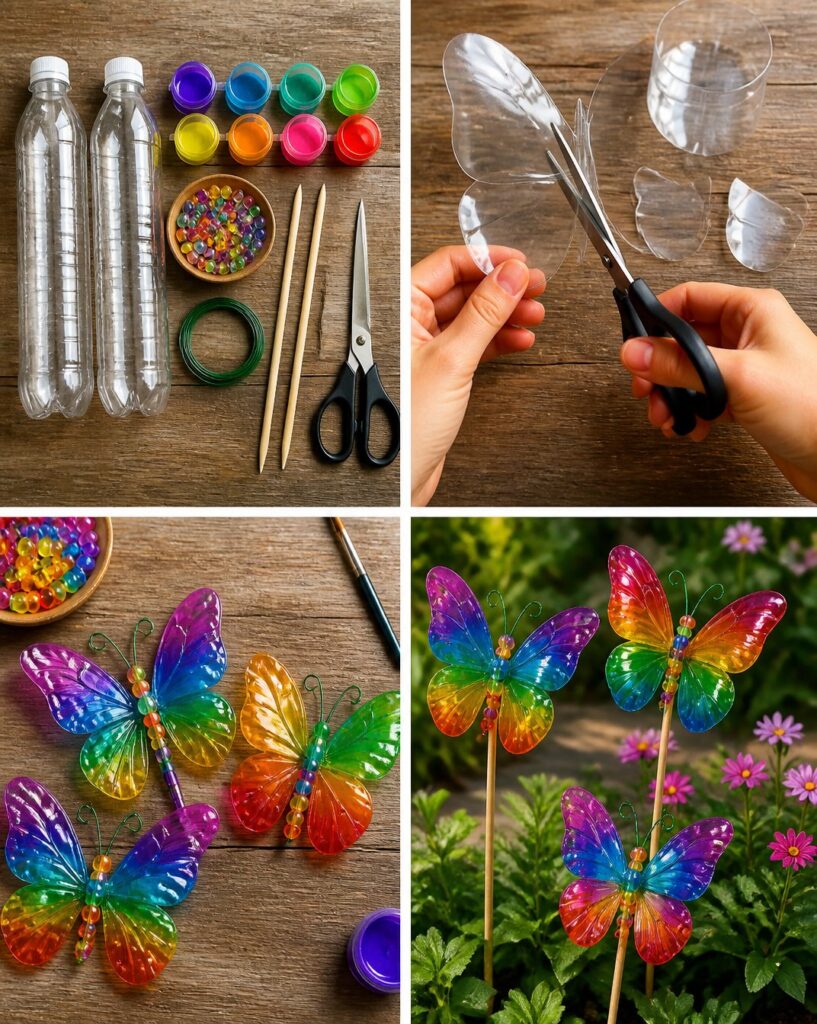
How to Make Rainbow Butterfly Stakes Made from Recycled Bottles
Step 1: Cut Butterfly Wings
- Take your clear plastic bottles and carefully cut the sides into butterfly wing shapes. You can make them big or small, but try to keep a similar size for both wings!
- Once cut, you should have two matching butterfly wings for each bottle.
Step 2: Paint the Wings
- Using your translucent rainbow paint, decorate the wings with bright colors and fun patterns. Don’t worry about being precise; the beauty is in the playful splashes of color!
- Allow the paint to dry completely. This is important—wet paint can smudge and ruin your design.
Step 3: Create Bodies with Beads and Wire
- While the wings dry, cut a length of craft wire (about 12 inches should work well) and string colorful beads onto it.
- Leave some room at each end of the wire to create a head and tail for the butterfly. Twist the wire at each end to secure the beads in place.
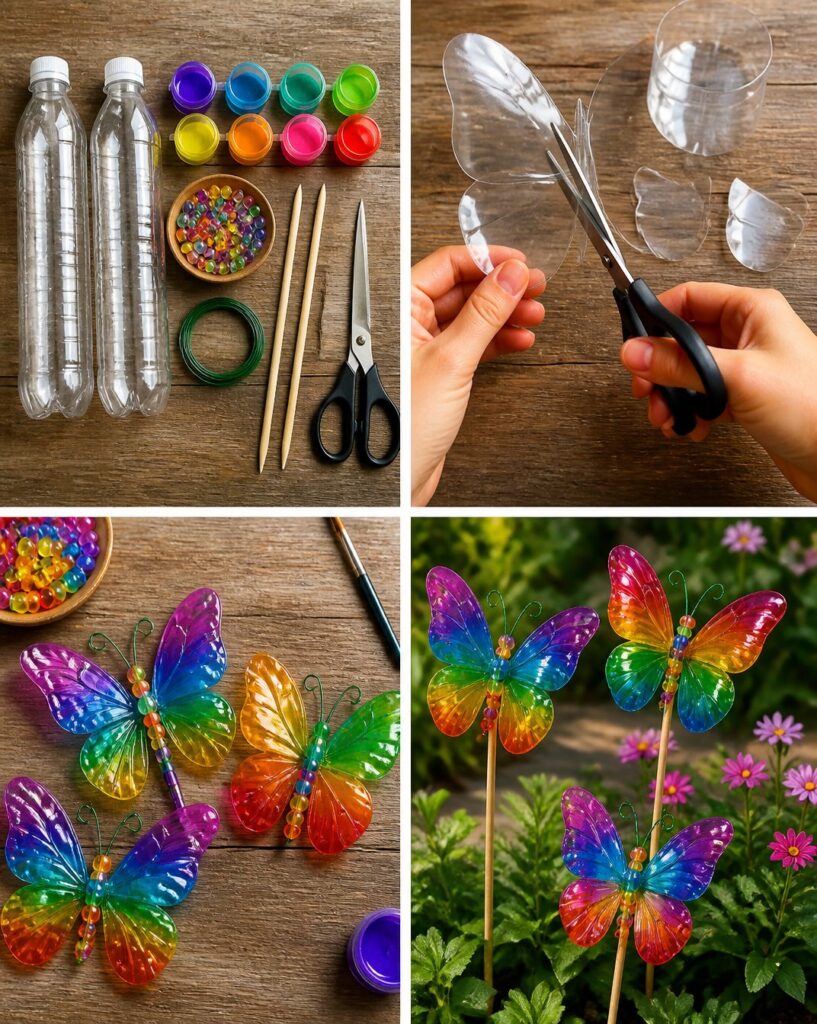
Step 4: Assemble the Butterflies
- Once the wings are dry, use the wire to attach the beaded body to the center of each butterfly wing. Just twist the wire around to secure it well.
- Attach each butterfly to a wooden stake by pushing the stake through the base of the wings. You can twist the wire around the stake for added steadiness.
Helpful Tips
- Take Care with Scissors: Make sure children are supervised during the cutting step. If they’re young, they might need assistance or you can do this part for them.
- Position for Drying: After painting your wings, lay them flat on a clean surface or hang them up to dry. Avoid stacking them to prevent sticking.
- Staking in the Garden: When placing the stakes in the ground, choose a soft area to push them in easily without breaking the wings.
- Securely Fasten: Make sure the beaded bodies are tightly bound to the wings so they can withstand wind and weather conditions.
Easy Variations
- Seasonal Colors: Change your paint colors based on the seasons—soft pastels for spring, bright shades for summer, warm hues for fall, and cool tones for winter.
- Different Materials: Instead of plastic bottles, try using lightweight cardboard or even paper plates for a different look.
- Larger or Smaller Butterflies: Adjust the size of the wings and stakes to create both mini and large butterflies for varied visual impact.
- Themed Decorations: Create butterflies that match your garden or home theme, like fairytale, jungle, or even cute cartoon characters.
- Add Sparkle: Instead of just beads, you could use rhinestones or glitter to add some extra sparkle.
Making This Craft With Kids
This craft is perfect for family fun! While older kids can handle most of the instructions, younger children may need adult help with cutting the plastic and using scissors. It’s best to decide who will do which steps beforehand to streamline the process.
How to Display or Use It
Your Rainbow Butterfly Stakes can be displayed directly in your garden, potted plants, or even along pathways. They can also make lovely gifts for friends or family when made with care. If you want to store them, be sure to keep them in a dry place to prevent moisture damage.
Frequently Asked Questions
1. How long does the paint take to dry?
The drying time can vary based on the type of paint used. It’s best to allow several hours or even overnight for complete dryness.
2. Can I use colored bottles instead of clear ones?
Yes! Just keep in mind that the colors might not appear as vibrant, depending on how transparent the bottles are.
3. How can I make sure the wings don’t flop?
Ensure that the wings are securely attached to the body using the wire and consider supporting them with a little extra tape if needed.
4. What if I don’t have craft wire?
You can substitute craft wire with sturdy string or even a twist tie; just make sure it’s strong enough to hold the beads and the wings.
5. Can I make this project indoors?
Absolutely! Just prepare a space that’s easy to clean up, especially when using paint, and have paper towels handy for any mess.
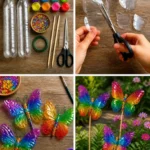
Rainbow Butterfly Stakes Made from Recycled Bottles
- Total Time: 15 minutes
- Makes: 4 butterfly stakes
Description
Transform plastic bottles into colorful butterfly stakes to brighten up your garden while promoting recycling.
Materials
- 2 clear plastic bottles
- Translucent rainbow paint (or any colors you prefer)
- Colorful beads
- Craft wire
- 3 wooden stakes
- Scissors
Instructions
- Cut the sides of the clear plastic bottles into butterfly wing shapes.
- Paint the wings with bright colors and fun patterns, allowing them to dry completely.
- Create a beaded body by stringing colorful beads onto a 12-inch length of craft wire.
- Attach the beaded body to the center of each butterfly wing and secure it to a wooden stake.
Notes
Ensure children are supervised while using scissors, and consider providing assistance for younger ones.