
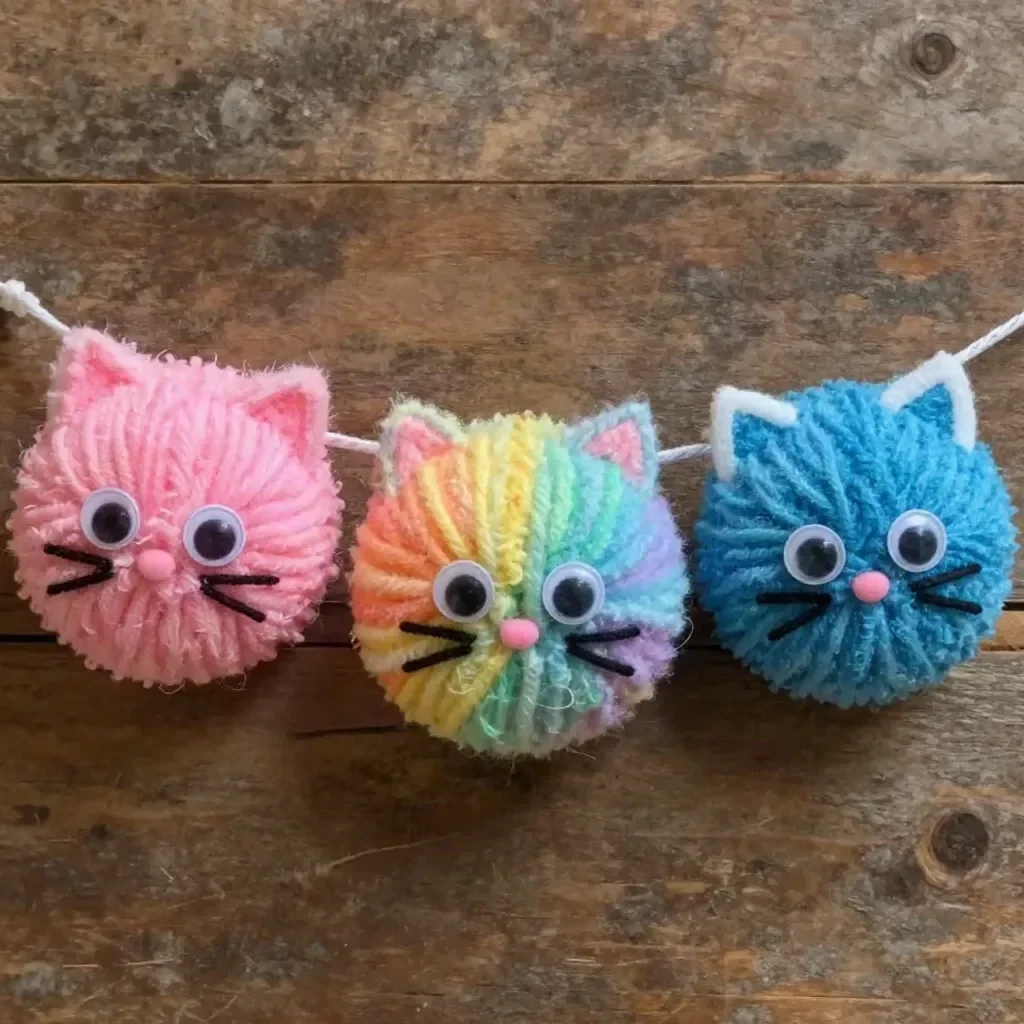
Rainbow Yarn Kitten Pom-Pom Garland
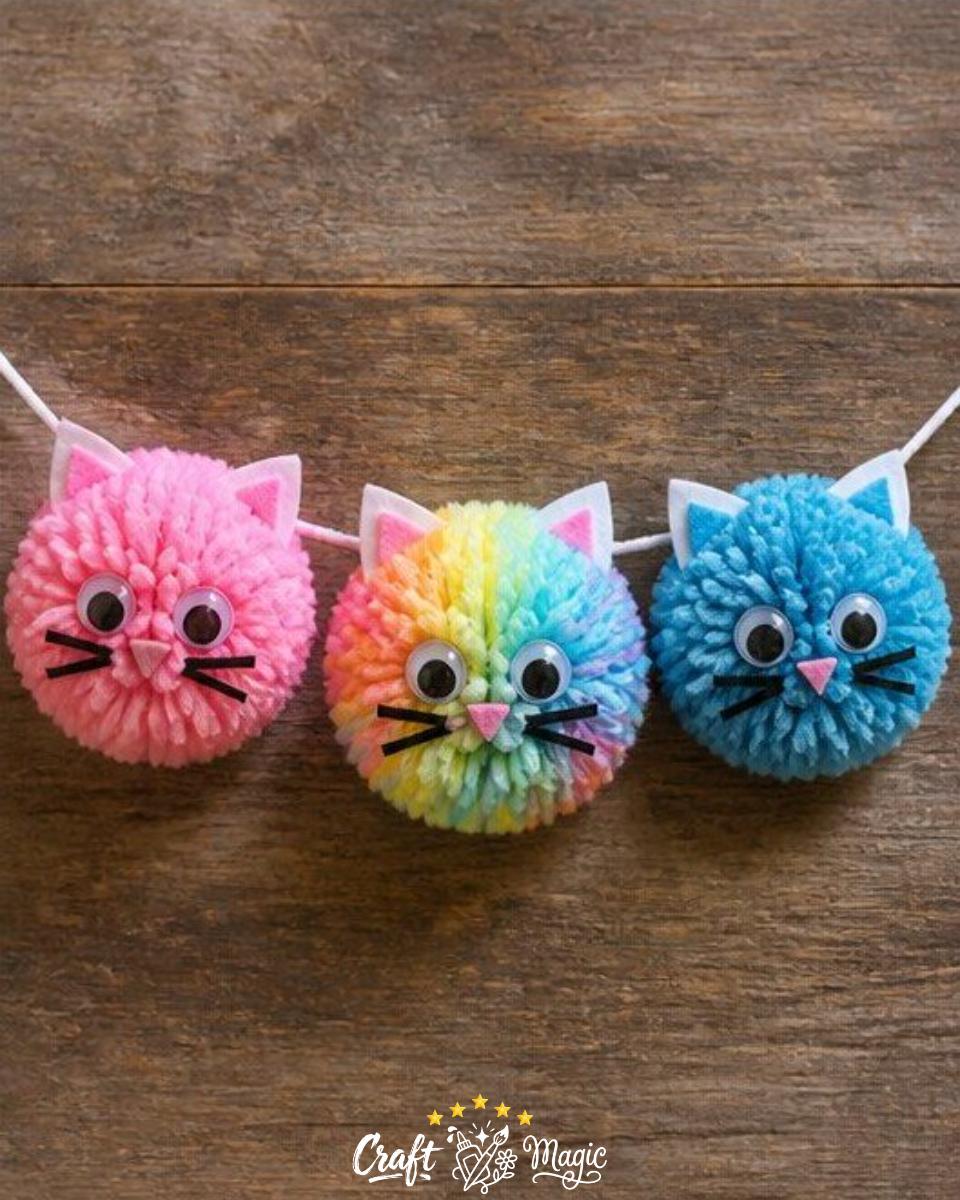
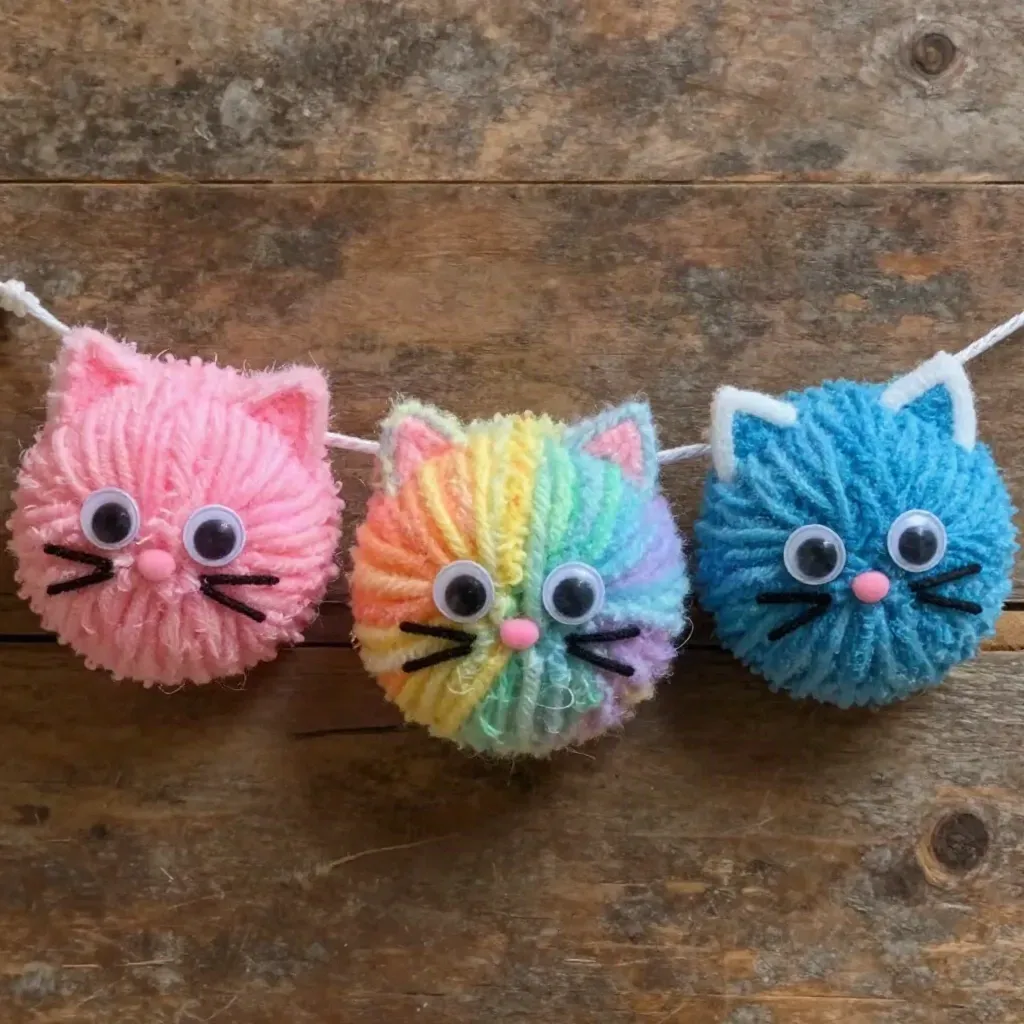
Creating a Rainbow Yarn Kitten Pom-Pom Garland is a delightful project that brings vibrant colors and playful charm to any space. This easy-to-follow tutorial is perfect for both beginners and seasoned crafters, allowing you to transform simple materials like yarn and felt into eye-catching decorations. The finished garland features adorable kitten pom-pom heads that are sure to brighten up any room or event. You may also find Melted Crayon Rainbow Butterfly Suncatcher For Kids useful.
Materials You’ll Need
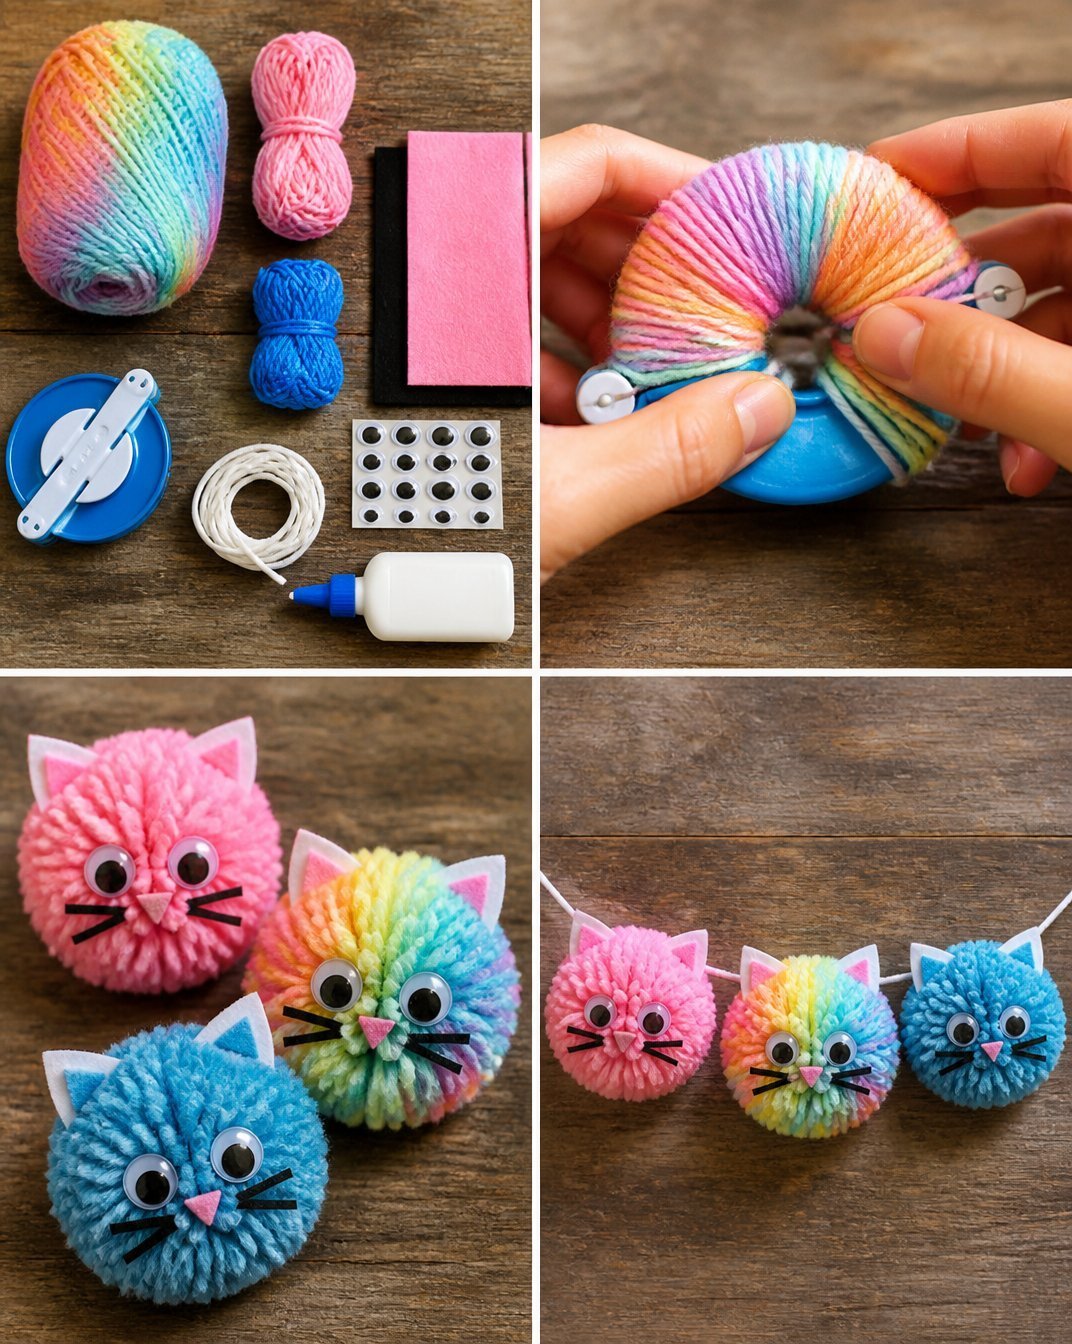
To begin your creative journey, gather the following materials:
- Rainbow yarn
- Pink yarn
- Blue yarn
- Felt
- Eyes
- Pom-pom maker
- String
- Glue
This project utilizes basic supplies that anyone can find easily. For instance, you can check out how to make colorful and festive projects with DIY rainbow popsicle stick crafts for an additional crafting adventure!
How to Make a Rainbow Yarn Kitten Pom-Pom Garland
Follow these steps to create your charming garland:
Step 1: Make Kitten Pom-Pom Heads
Choose Your Yarn: Select your rainbow yarn, pink yarn, and blue yarn, mixing them to create lively pom-poms.
Create Pom-Poms: Using a pom-pom maker, wrap yarn around the maker until you reach the desired fullness.
Secure Your Pom-Pom: Carefully cut the yarn, tie it in the center with a piece of yarn from your collection, and trim the ends to create a fluffy finish.
Step 2: Add Features
Cut Out Features from Felt: Create ears, noses, and other facial features from felt.
Attach the Features: Use glue to attach the felt features and plastic eyes to each kitten pom-pom head.
Uniquely Customize: Feel free to personalize each kitten by varying the colors or shapes of the features.
Step 3: String into Garland
Cut Your String: Determine the length of the garland and cut the string accordingly.
Attach Pom-Poms: Thread each kitten pom-pom head onto the string, spacing them out as desired.
Finish It Up: Secure the ends of the string, ensuring that the pom-poms stay in place.
Display Ideas
This colorful garland can be hung across doorways, draped over furniture, or used as a festive decoration for parties. You can also add it to seasonal displays, making it a versatile decoration. For that extra flair, consider incorporating other elements, such as the charming rainbow ghost garland found at Rainbow Ghost Cupcake Liner Garland.
Helpful Tips
- Mix and Match Colors: Don’t be afraid to play with different shades of yarn to create unique looks.
- Work with Friends: Crafting is a wonderful activity to enjoy with family or friends. Everyone can make their own pom-poms to create a collaborative garland.
- Keep it Safe: If crafting with children, supervise them during the gluing process to avoid mishaps with hot glue.
Common Mistakes to Avoid
- Skipping the Tying Step: Make sure to tie your pom-poms securely in the center to ensure they hold their shape.
- Overstuffing the Pom-Poms: While fullness is attractive, overstuffing can make it difficult to secure the yarn properly.
- Ignoring Color Harmony: Pay attention to how the colors blend together; this can greatly affect the visual appeal of your final garland.
Frequently Asked Questions
Can I use any type of yarn?
Yes, while rainbow yarn creates a vibrant effect, you can use any kind of yarn you love!
How do I store my garland?
If you plan to reuse it, store the garland in a cool, dry place away from direct sunlight to avoid fading.
What if my pom-poms are uneven?
Don’t worry! Use scissors to trim any stray yarn pieces until they are as even as you like.
Conclusion
Crafting your Rainbow Yarn Kitten Pom-Pom Garland is an enjoyable project that adds a playful touch to your home. If you’re looking for additional fun and creative materials, consider exploring Pom Pom Yarn Balls for more crafting inspiration! Enjoy your colorful adventure and let the creativity flow!
Print
Rainbow Yarn Kitten Pom-Pom Garland
- Total Time: 30 minutes
- Makes: 1 garland
Description
Create a vibrant and playful Rainbow Yarn Kitten Pom-Pom Garland that brightens any space with charming kitten heads.
Materials
- Rainbow yarn
- Pink yarn
- Blue yarn
- Felt
- Plastic eyes
- Pom-pom maker
- String
- Glue
Instructions
- Choose your yarn: Select your rainbow yarn, pink yarn, and blue yarn, mixing them to create lively pom-poms.
- Create pom-poms: Using a pom-pom maker, wrap yarn around the maker until you reach the desired fullness.
- Secure your pom-pom: Carefully cut the yarn, tie it in the center with a piece of yarn from your collection, and trim the ends to create a fluffy finish.
- Cut out features from felt: Create ears, noses, and other facial features from felt.
- Attach the features: Use glue to attach the felt features and plastic eyes to each kitten pom-pom head.
- Uniquely customize: Feel free to personalize each kitten by varying the colors or shapes of the features.
- Cut your string: Determine the length of the garland and cut the string accordingly.
- Attach pom-poms: Thread each kitten pom-pom head onto the string, spacing them out as desired.
- Finish it up: Secure the ends of the string, ensuring that the pom-poms stay in place.
Notes
Mix and match colors to create unique looks and craft with friends for a collaborative project.