

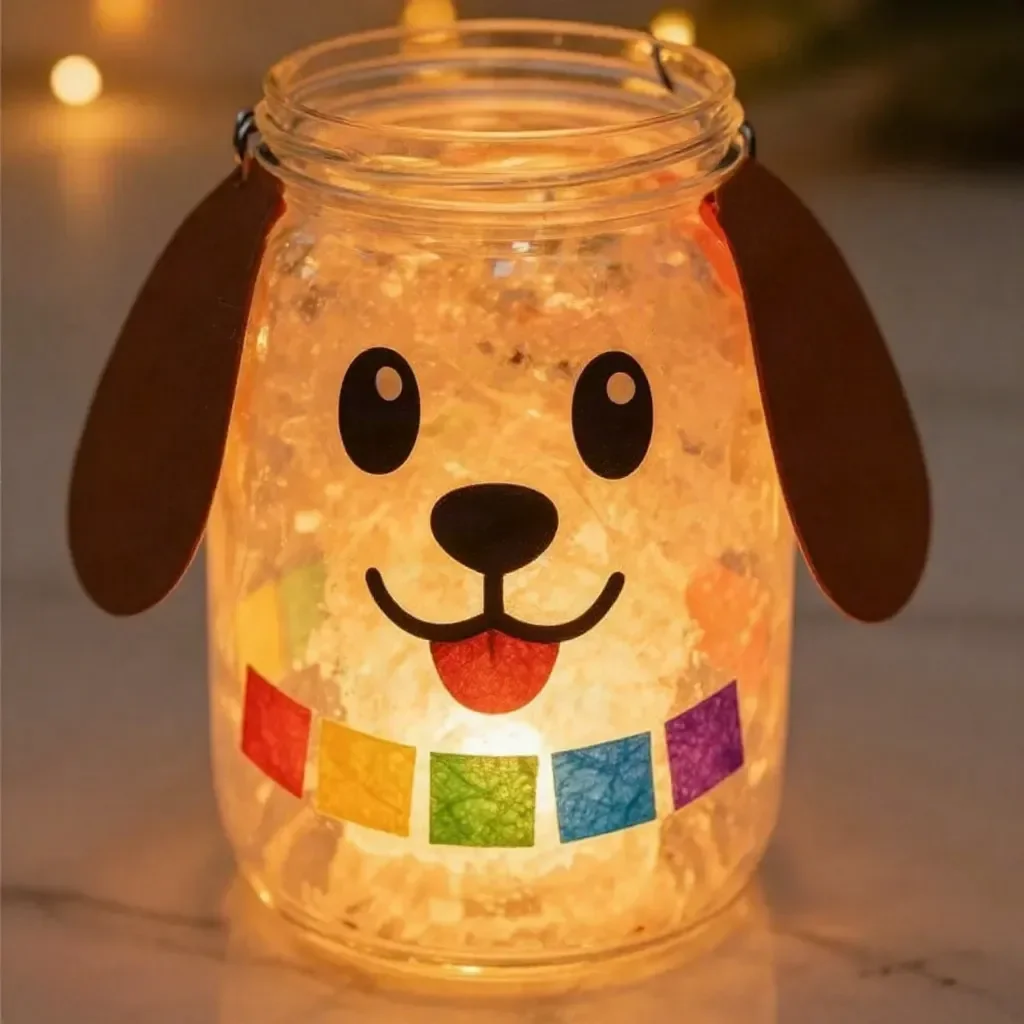
Rainbow Puppy Ghost Glow Lantern
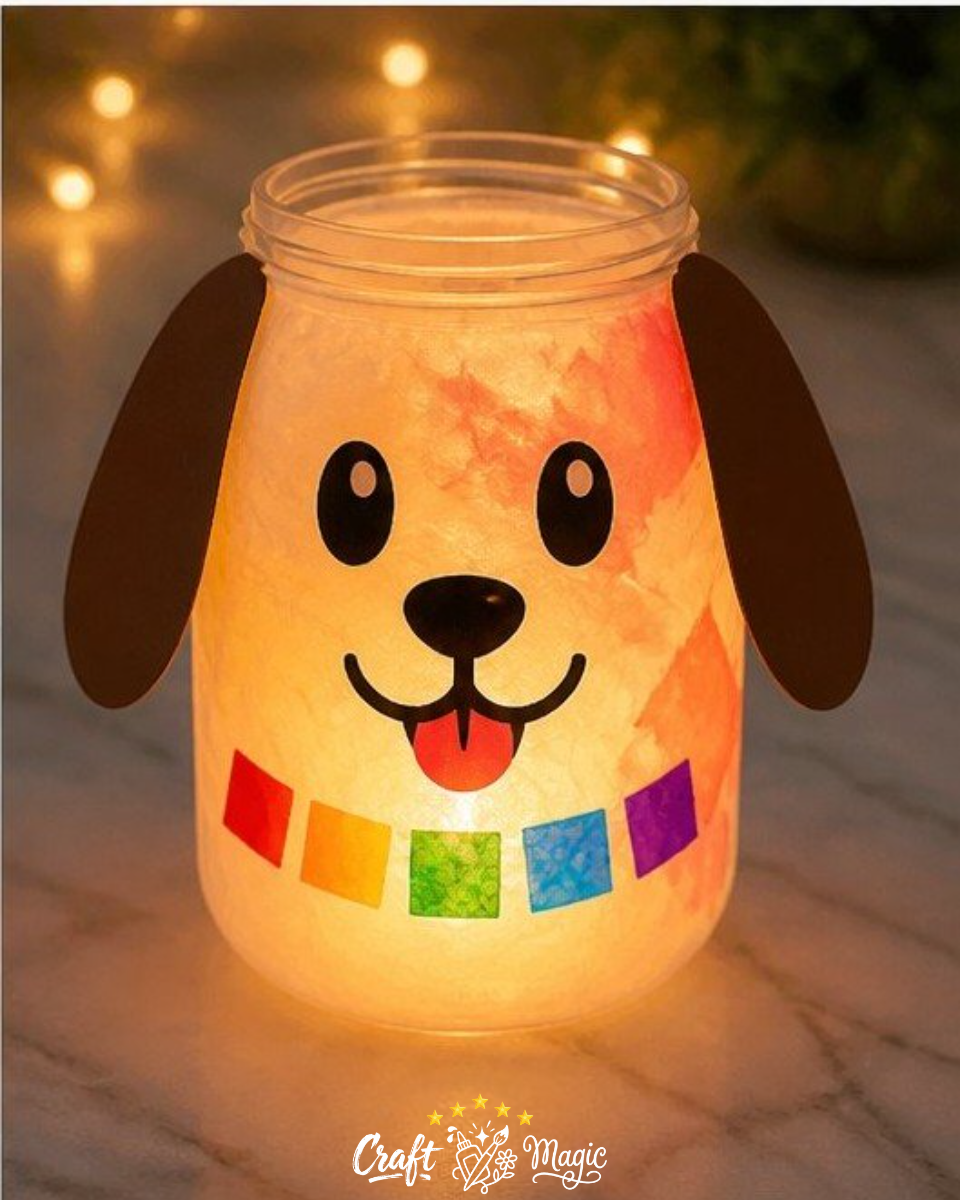
Transform an ordinary clear plastic jar into a whimsical Rainbow Puppy Ghost Glow Lantern that brings a cheerful glow to any space. This delightful project uses simple materials like translucent tissue paper and cardstock, allowing even beginners to craft something visually engaging. The end result will be a charming lantern that not only lights up the room but also showcases a friendly ghost puppy, making it perfect for Halloween or any cheerful gathering. You may also find Rainbow Ghost Cupcake Liner Garland Halloween Decor useful.
You may also find Diy Rainbow Popsicle Stick Flower Wheel Craft useful.
Materials You’ll Need
To create your own Rainbow Puppy Ghost Glow Lantern, gather the following materials:
- Clear plastic jar
- Translucent white tissue
- Rainbow tissue
- Clear pink tissue
- Clear blue tissue
- Brown cardstock
- Black cardstock
- Decoupage glue
- LED tea light
Now, let’s dive into how to make this adorable lantern!
How to Make Rainbow Puppy Ghost Glow Lantern
This project is broken down into a few easy steps to guide you through the crafting process.
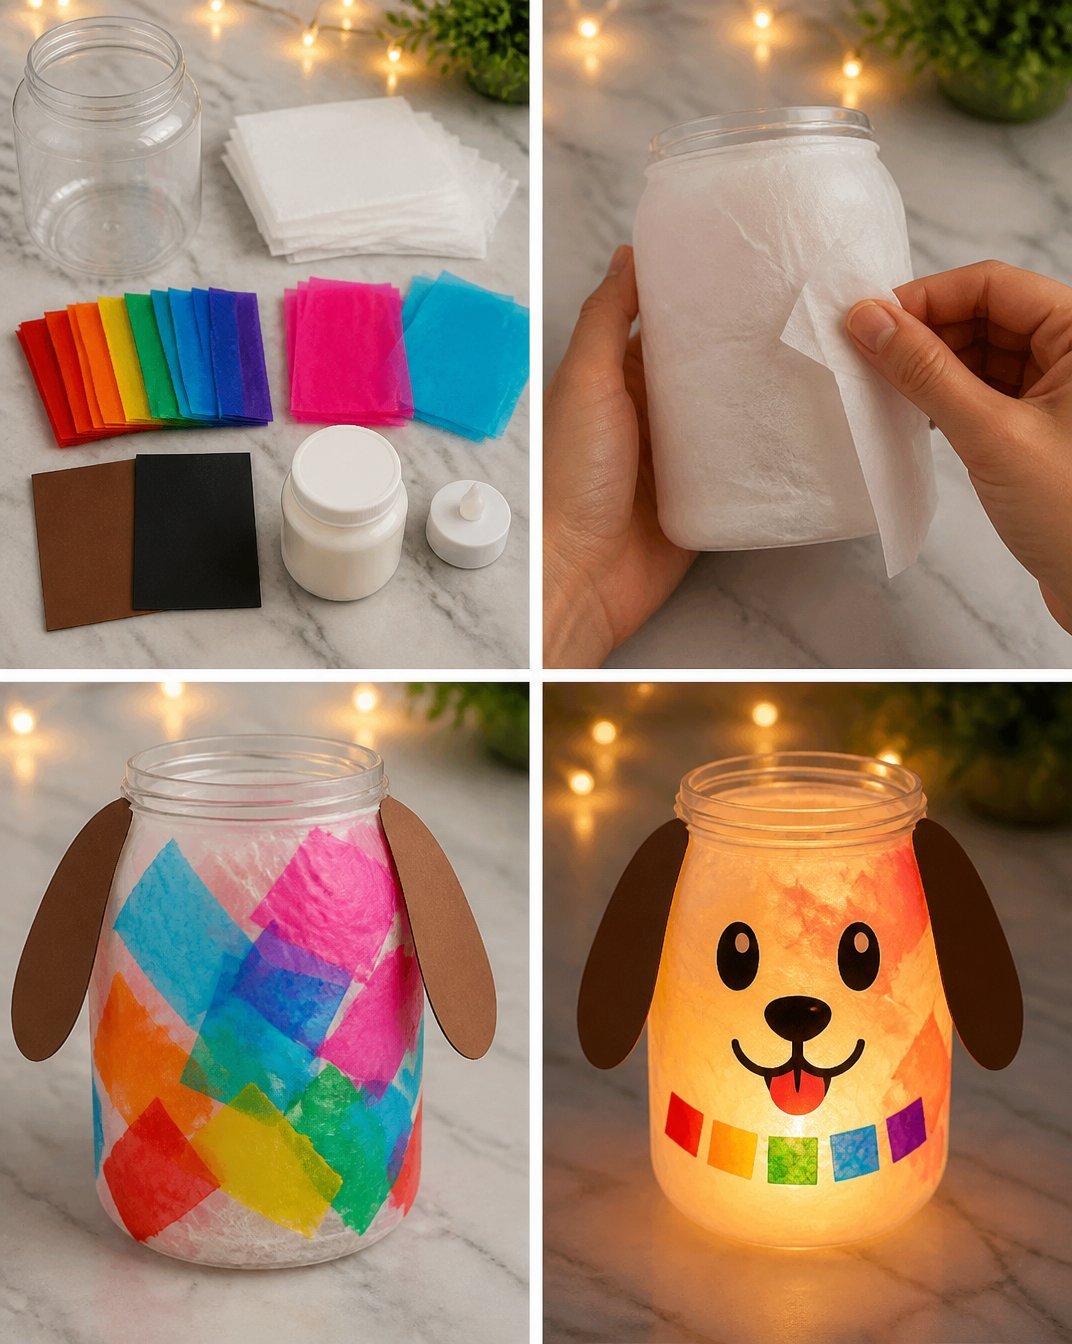
Decoupage the Jar
Start by applying the decoupage glue to the exterior of the clear plastic jar. Take the translucent white tissue and carefully wrap it around the jar. This will create a soft, glowing effect when the LED tea light is placed inside. Make sure to smooth out any air bubbles for a seamless look.Add Colorful Tissue
Next, cut small pieces of the rainbow, clear pink, and clear blue tissue. Scatter these pieces over the decoupaged white tissue while the glue is still wet. They will adhere to the surface and add a vibrant color palette to your lantern. Allow this layer to dry completely.Create the Puppy Ears
While your jar is drying, take the brown cardstock and cut out floppy puppy ears. You can make them any size you prefer; just be sure they’re proportionate to your jar. These ears will give your ghost lantern a playful touch.Decorate Your Ghost Face
Use the black cardstock to cut out a friendly ghost face. Attach it to the jar to bring your puppy ghost to life. Consider adding a small rainbow collar from leftover tissue for an extra fun detail.Final Touches
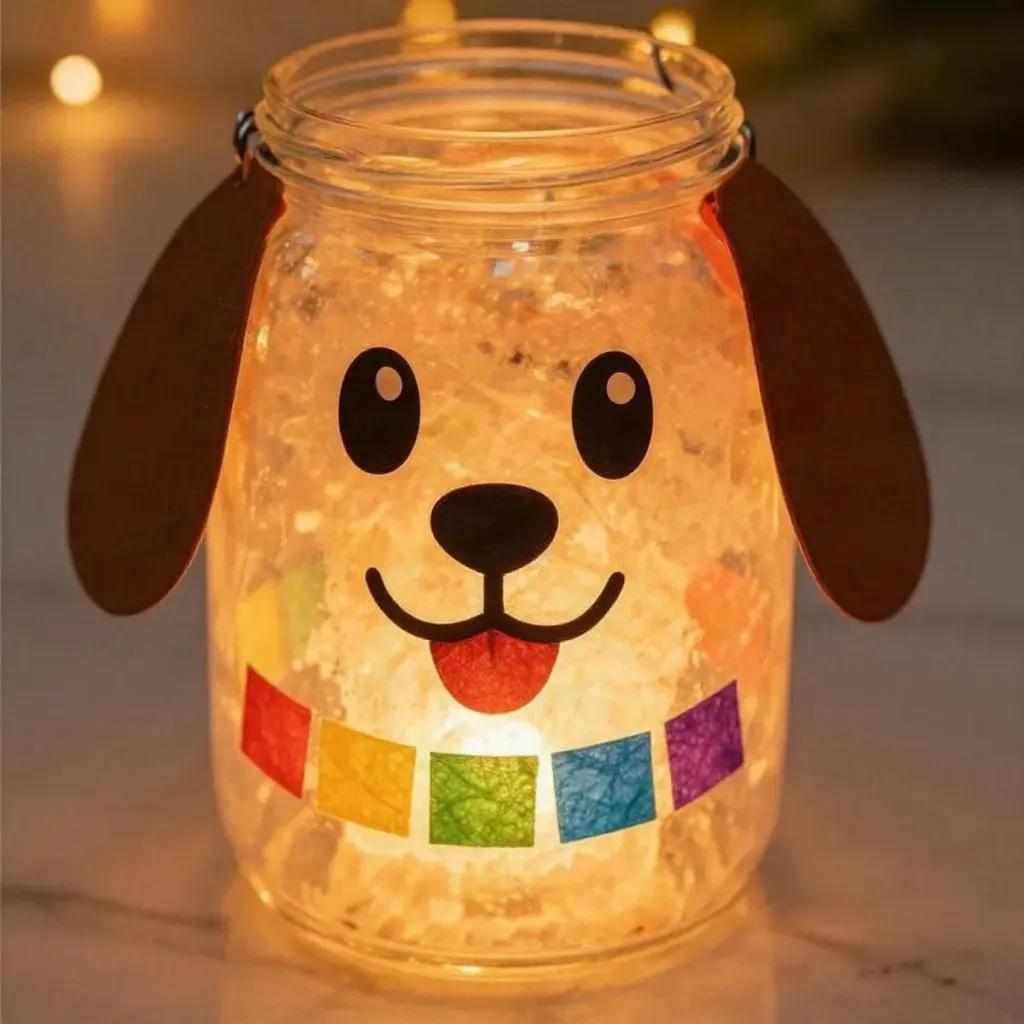
Once your jar is fully decorated and dried, place an LED tea light inside. Turn it on, and watch as your Rainbow Puppy Ghost Glow Lantern lights up with a spooky-cute glow!
Helpful Tips
To make your crafting experience even smoother, here are a few additional tips:
Layer with Care: When applying the tissue, start with lighter colors and build up to darker hues. This layering effect enhances depth and allows light to shine through beautifully.
Use a Clean Surface: Make sure your workspace is clean to avoid getting any glue on your finished lantern. A clutter-free area makes crafting much more enjoyable!
Try Different Color Combinations: Experiment with other colors of tissue paper. If you enjoyed this project, consider making a similar lantern with different color schemes by checking out Rainbow Tissue Paper Flower Lantern DIY for Kids.
Common Mistakes to Avoid
As with any crafting project, it’s good to be aware of potential pitfalls:
Too Much Glue: Applying too much decoupage glue may lead to a wrinkled appearance when dry. A thin, even coat works best.
Skipping Drying Time: Be sure to let each layer dry properly before moving to the next step. This will ensure a sturdy and clean final product.
Inconsistent Eye Placement: When gluing on the ghost face, make sure the eyes are expressively positioned to give the lantern a friendly look!
Frequently Asked Questions
Q: Can I use other types of jars?
A: Yes, any clear glass or plastic jar can work for this project. Just ensure the shape is suitable for standing and that the LED tea light fits inside properly.
Q: How long will it take to dry?
A: Depending on humidity and temperature, the decoupage glue generally takes 1-2 hours to dry, but for best results, leave it overnight.
Q: Is this project safe for young children?
A: While they can participate, adult supervision is required when using scissors, and handling the decoupage glue should be done by adults.
Conclusion
This Rainbow Puppy Ghost Glow Lantern is a delightful project that brings a pop of color and a playful spirit to your home. It can also be a fantastic family activity, allowing everyone to express their creativity while working together. For additional inspiration for your crafting journey, check out this Pug Lamp that adds an adorable touch to any room! Enjoy crafting your spooky-cute lantern!
Print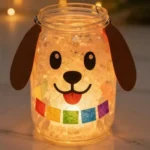
Rainbow Puppy Ghost Glow Lantern
- Total Time: 1 hour 15 minutes
- Makes: 1 lantern
Description
Create a whimsical Rainbow Puppy Ghost Glow Lantern using simple materials for a cheerful glow perfect for Halloween or gatherings.
Materials
- Clear plastic jar
- Translucent white tissue
- Rainbow tissue
- Clear pink tissue
- Clear blue tissue
- Brown cardstock
- Black cardstock
- Decoupage glue
- LED tea light
Instructions
- Apply decoupage glue to the exterior of the clear plastic jar.
- Wrap the translucent white tissue around the jar, smoothing out any air bubbles.
- Cut small pieces of rainbow, clear pink, and clear blue tissue.
- Scatter these pieces over the white tissue while the glue is still wet.
- Allow this layer to dry completely.
- Cut floppy puppy ears from the brown cardstock.
- Attach a friendly ghost face cut from black cardstock to the jar.
- Place an LED tea light inside the jar and turn it on to enjoy your glowing lantern.
Notes
Consider experimenting with different tissue colors for unique designs.