

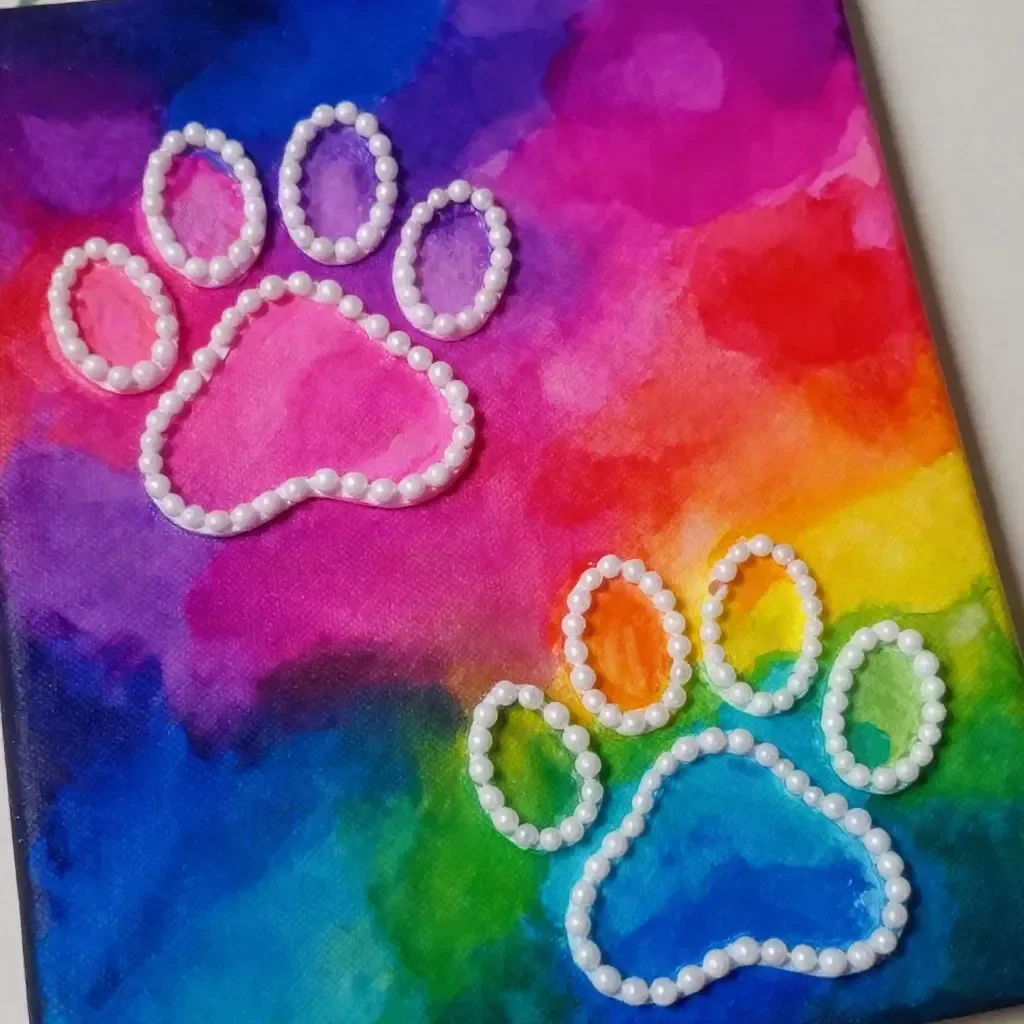
Rainbow Puppy Paw Raised-Salt Painting
Creating a Rainbow Puppy Paw Raised-Salt Painting is a delightful way to blend art with fun. This craft not only captures the vibrant colors associated with a rainbow but also adds a unique textural element with salt. The result is a stunning, layered piece that is approachable for crafters of all ages, from families looking to bond through creativity to educators seeking fun art projects for students. You’ll love how this project transforms simple materials into a colorful, textured masterpiece. You may also find Melted Crayon Rainbow Haunted House Suncatcher Craft useful.
Materials You’ll Need
Before we get started, let’s gather the necessary materials for this vibrant project:
- Black cardstock
- Salt
- Glue
- Rainbow watercolor
- Pink watercolor
- Blue watercolor
- Droppers
Why This Craft Works So Well
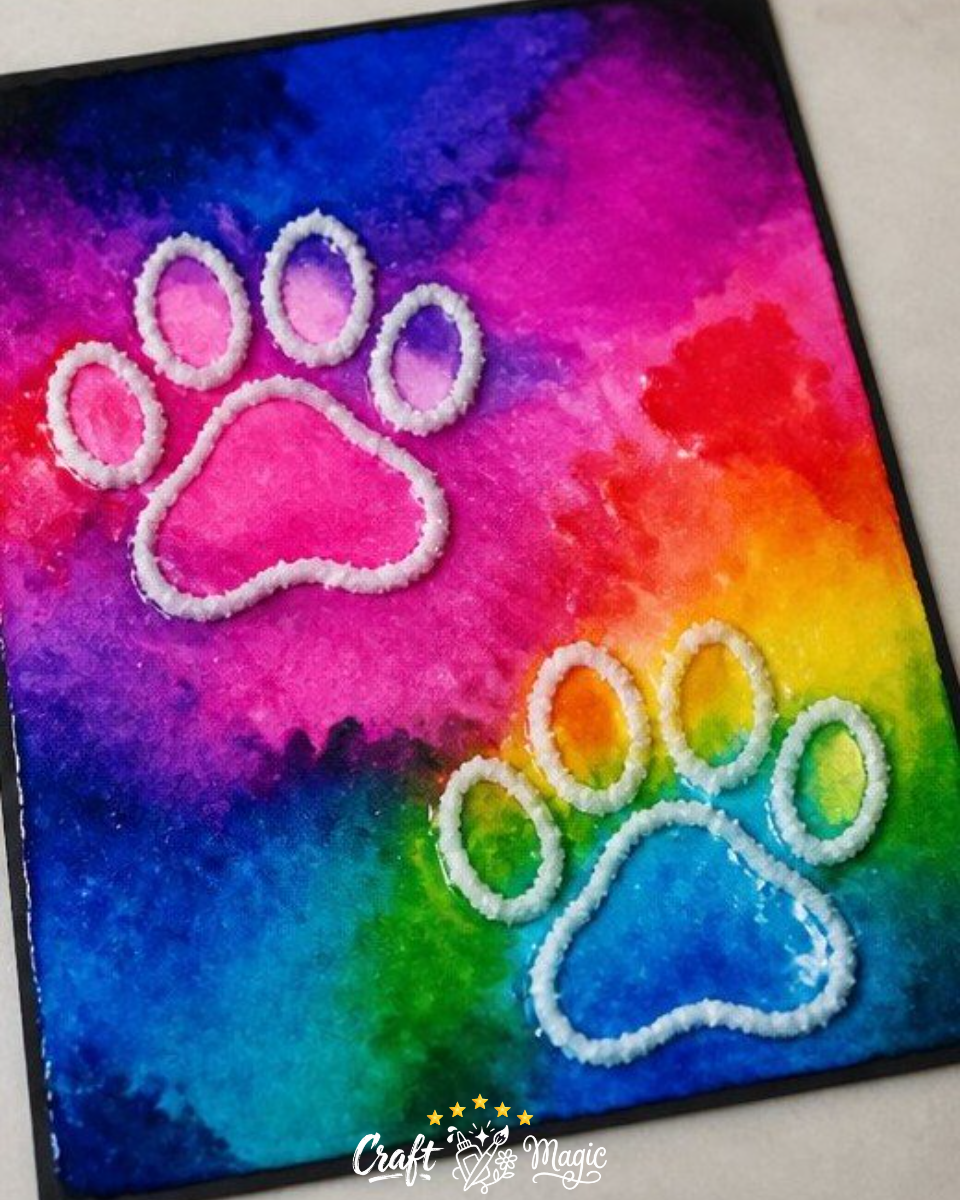
The contrast between the vibrant colors of the watercolors and the deep black cardstock creates a striking visual effect. As the salt absorbs the watercolor, it gives the painting an unusual three-dimensional quality. This craft not only showcases some beautiful colors and textures but also offers a hands-on making experience that kids and adults will both enjoy. If you’re interested in more colorful craft projects, consider checking out our melted crayon rainbow butterfly suncatcher for a lovely follow-up activity!
How to Make Rainbow Puppy Paw Raised-Salt Painting
Let’s dive into the step-by-step instructions for creating your Rainbow Puppy Paw Raised-Salt Painting.
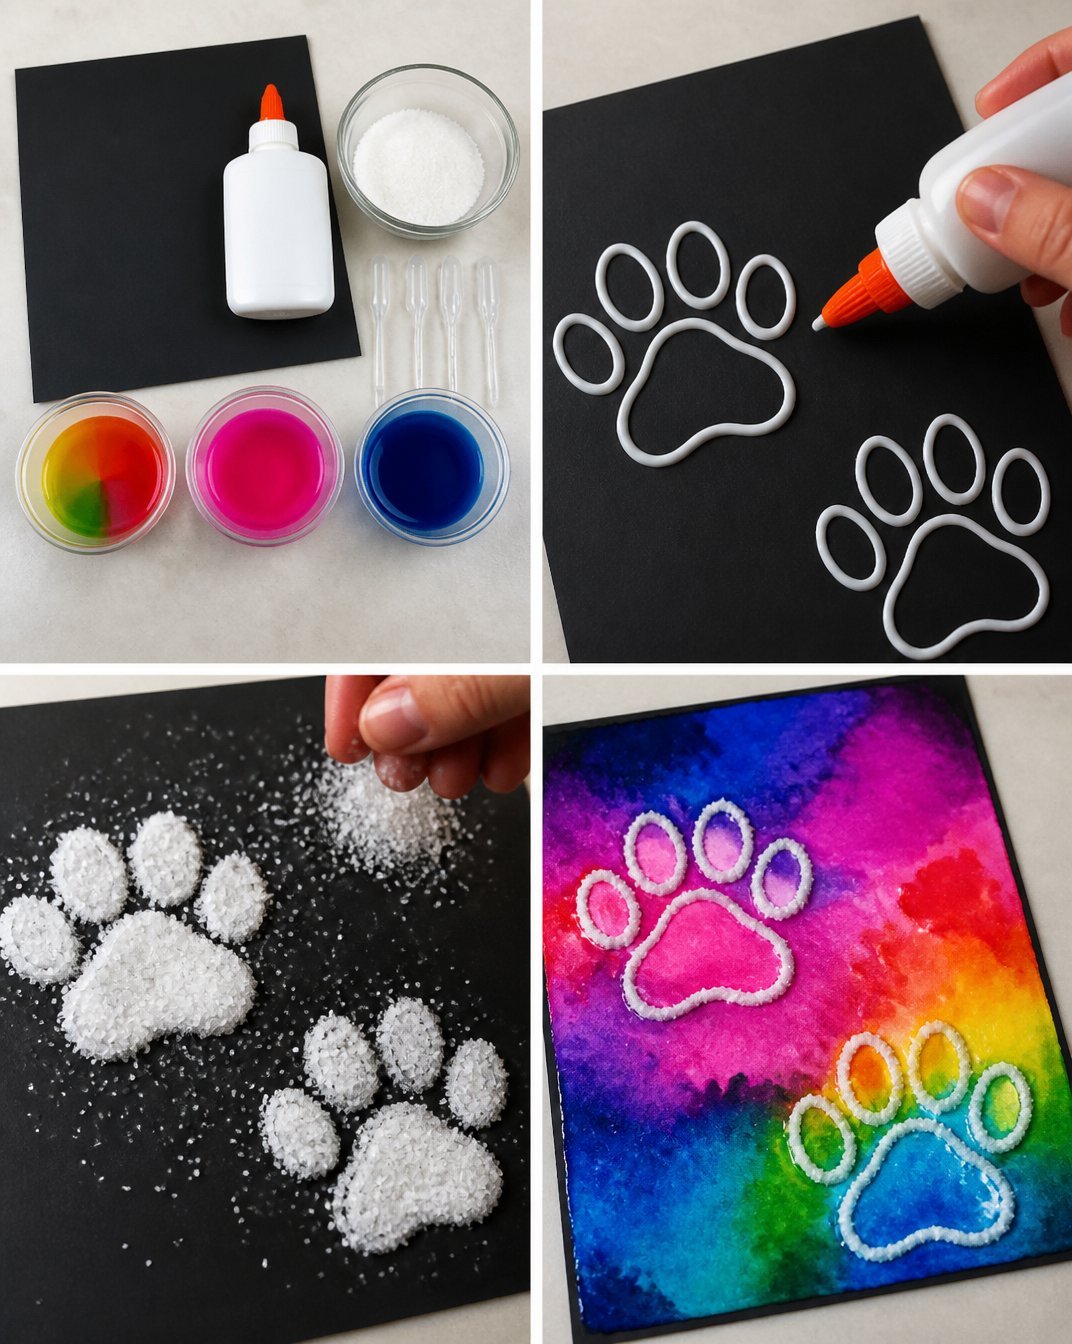
Step 1: Glue Paw Prints
Begin by drawing and cutting out paw print shapes from your black cardstock. Use your glue to carefully adhere the paw prints to the cardstock, ensuring they’re firmly placed.
Step 2: Cover with Salt
Once the glue has dried, sprinkle salt generously over the paw prints. You want to ensure each print is fully coated in salt so that it can absorb the colorful watercolors later. This will create the textured effect that makes the final piece so captivating.
Step 3: Add Colors
Using the droppers filled with rainbow watercolors, carefully drop colors onto the salt-covered paw prints. The watercolors will spread out beautifully, mixing and layering to create a stunning array of colors. Feel free to experiment with color combinations! To guide you through another colorful project, consider creating a DIY rainbow popsicle stick flower wheel craft that adds more color to your crafting repertoire.
Step 4: Dry Flat
Once you’ve applied all your colors, leave the painting to dry flat. This allows the watercolors to set and the salt to maintain its textural quality. You can expect a glossy finish that captures light beautifully.
Getting the Colors Right
When choosing your watercolors, opt for vibrant hues to make your paw prints stand out against the black background. Consider using different shades of blues and pinks to achieve a diverse and engaging look. It’s also fun to explore other colors and see how they merge together, making each piece unique.
Helpful Tips
- Supervision and Assistance: If crafting with young children, ensure an adult is present to help with glue application and handling the droppers. Safety first!
- Layering Colors: Don’t be afraid to add multiple layers of colors until you achieve the desired intensity. Watching the colors blend is part of the fun!
Common Mistakes to Avoid
Not Using Enough Glue: Ensure the paw print shapes are glued securely, or the salt may not adhere properly.
Using Too Much Watercolor: A little goes a long way. Too much watercolor can lead to a muddy appearance rather than vibrant colors.
Skipping the Drying Step: Make sure to let your project dry flat. If not, you might lose the raised effect created by the salt.
Creating the Crystal Effect
As the watercolors dry, the salt absorbs the moisture and creates a beautiful crystalline effect. You can enhance this by experimenting with different amounts of salt or color saturation. The interplay between the salt and colors is part of what makes this project so special!
Frequently Asked Questions
Can I use regular paper instead of cardstock?
While you can use regular paper, it may not hold up as well against the moisture from the watercolors. Black cardstock is preferred for better durability and contrast.
How should I display my finished artwork?
Display your Rainbow Puppy Paw Raised-Salt Painting in a well-lit area to enhance the colors and textures. You can frame it or even hang it using clips.
What are some color combinations that work well?
Consider using shades of blues with hints of purple for a calming effect or bright yellows and oranges for a lively appearance. Don’t hesitate to mix and match!
Conclusion
The Rainbow Puppy Paw Raised-Salt Painting is an exciting project that offers both creativity and tactile engagement. If you’re interested in adding a dash of pride to your crafting, consider this LGBT Paw Gay Pride Bumper Sticker that celebrates unity and love. Happy crafting!
Print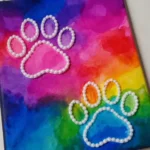
Rainbow Puppy Paw Raised-Salt Painting
- Total Time: 75 minutes
- Makes: 1 painting
Description
A delightful craft project that blends vibrant colors with a unique textural element using salt, suitable for all ages.
Materials
- Black cardstock
- Salt
- Glue
- Rainbow watercolor
- Pink watercolor
- Blue watercolor
- Droppers
Instructions
- Begin by drawing and cutting out paw print shapes from your black cardstock. Use your glue to carefully adhere the paw prints to the cardstock, ensuring they’re firmly placed.
- Once the glue has dried, sprinkle salt generously over the paw prints.
- Using the droppers filled with rainbow watercolors, carefully drop colors onto the salt-covered paw prints.
- Once you’ve applied all your colors, leave the painting to dry flat.
Notes
Ensure supervision when crafting with young children, and experiment with color combinations to achieve a unique look.