

Colorful Cupcake-Liner Flower Bouquet
Making a Colorful Cupcake-Liner Flower Bouquet is a delightful way to bring some cheer into your home or classroom. This craft is simple enough for beginners yet charming enough to create lovely decorations. Using cupcake liners, paper straws, and a few other supplies, you can make a bright bouquet that can lift anyone’s spirits. Plus, it’s a fantastic project to enjoy with family, encouraging creativity and quality time together.
You’ll be crafting six whimsical flowers that can be displayed in a vase or given as a sweet gift. Let’s dive into this colorful crafting adventure!
Why You’ll Enjoy This Project
- Simple Steps: All the actions involved are easy to understand, making it perfect for crafters of all ages.
- Bright and Colorful: You’ll create a beautiful arrangement using cheerful colors that can brighten up any space.
- Flexible Crafting: You can use recycled cupcake liners and everyday materials, making it an eco-friendly choice.
- Engaging for All: It offers a great way to bond with kids or friends while crafting something delightful together.
Materials You’ll Need
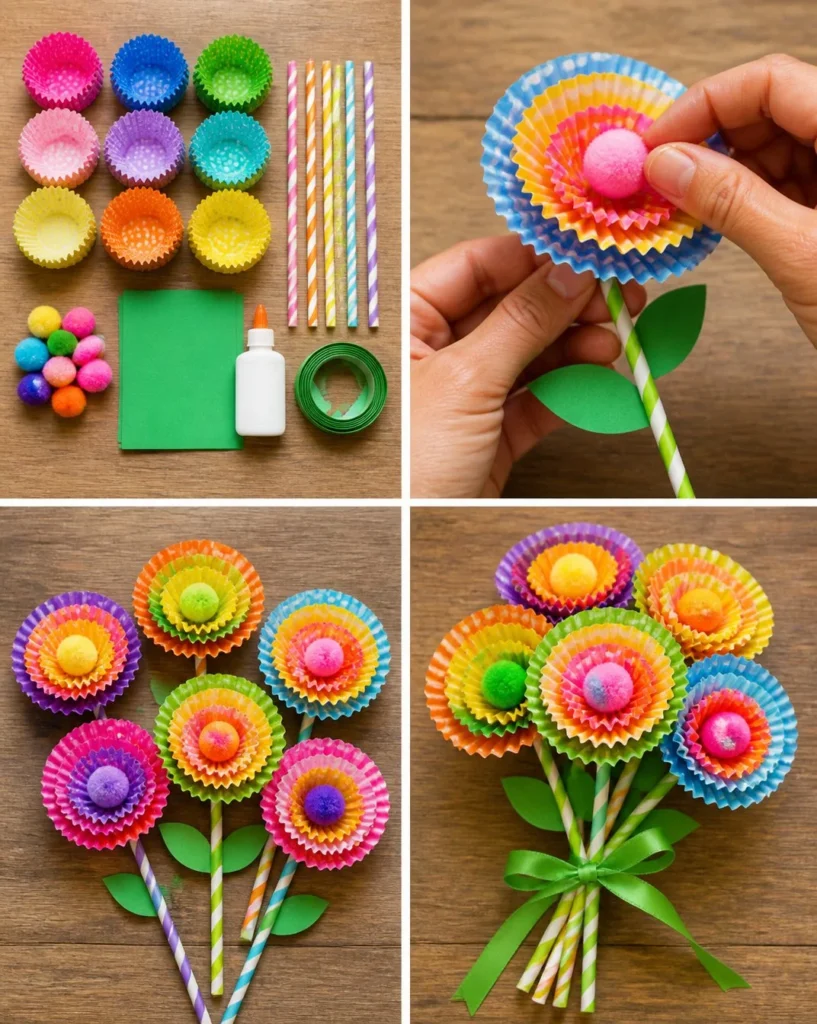
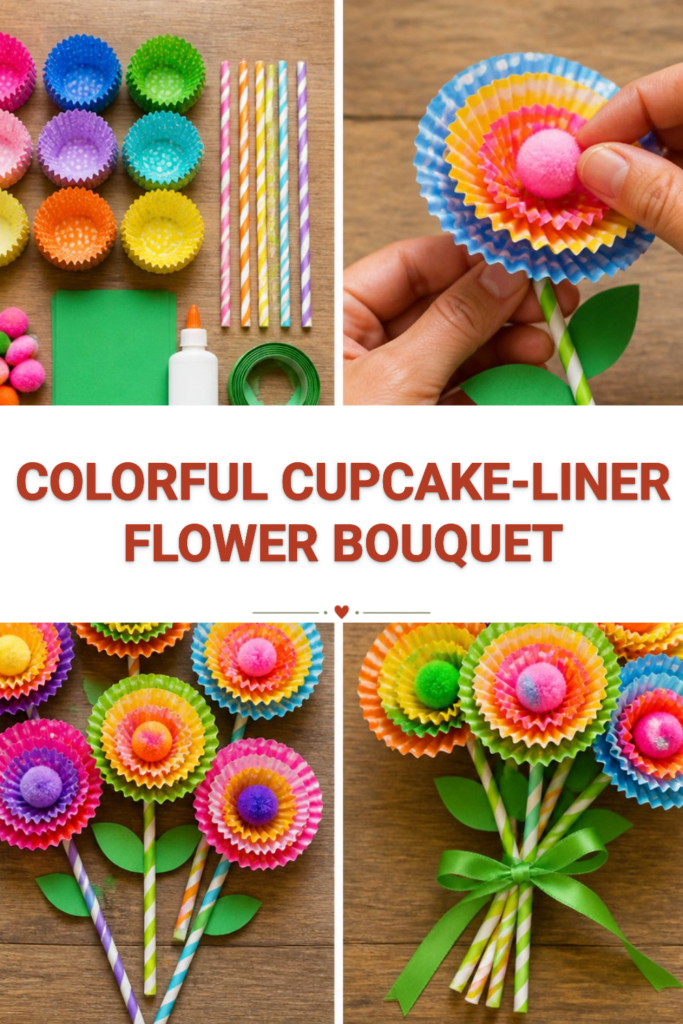
- 18 colorful cupcake liners
- 6 paper straws
- 6 pom-poms
- Green cardstock
- Glue
- Ribbon
Feel free to use any colorful cupcake liners you have on hand. If you don’t have straws, you could also use sticks or thicker paper rolled into a tube.
How to Make Colorful Cupcake-Liner Flower Bouquet
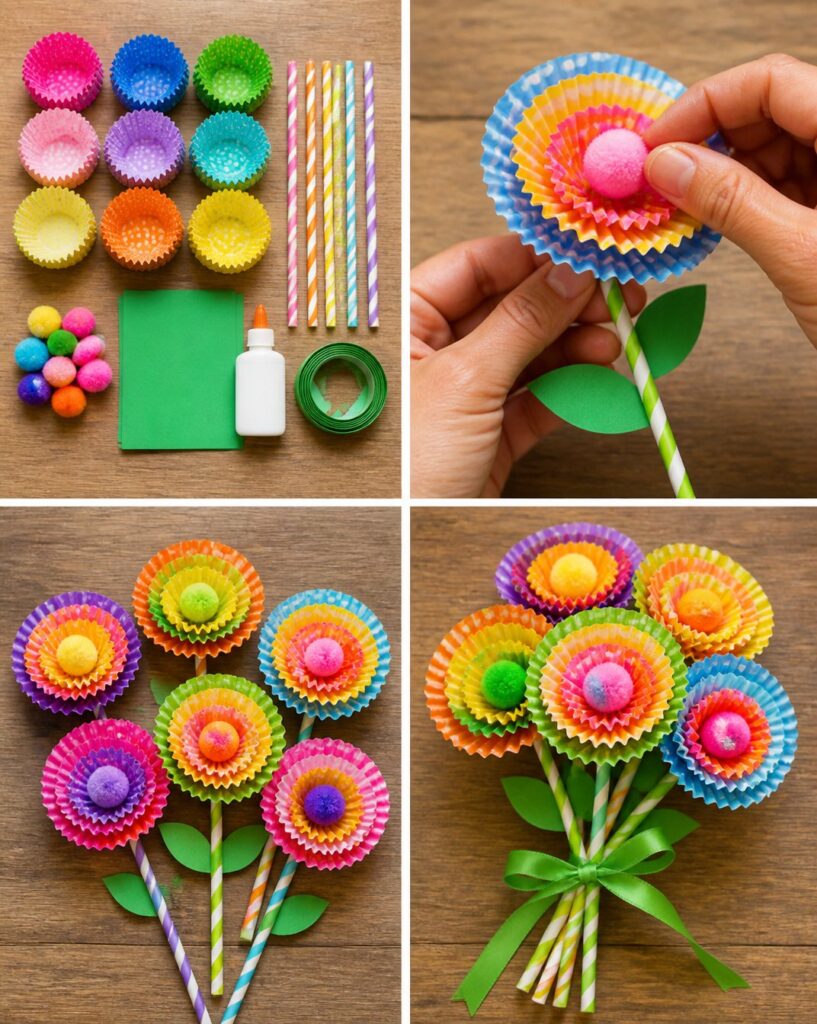
- Layer the Liners: Take three cupcake liners in different colors and stack them together, creating the flower’s petals.
- Glue the Layers: Apply a bit of glue to the center of the stacked cupcake liners and press down to secure them together. Make sure the layers are well-attached.
- Add the Center: Place a pom-pom in the center of your layered cupcake liners. Glue it down firmly. This will be the flower’s center.
- Attach to Straws: Take one of the paper straws and glue the bottom of the flower to the straw. Hold it in place for a few seconds to ensure it sticks well.
- Create Leaves: Cut out leaf shapes from the green cardstock. You can make them any size you like—be creative! Then, glue the leaves to the straw below the flower.
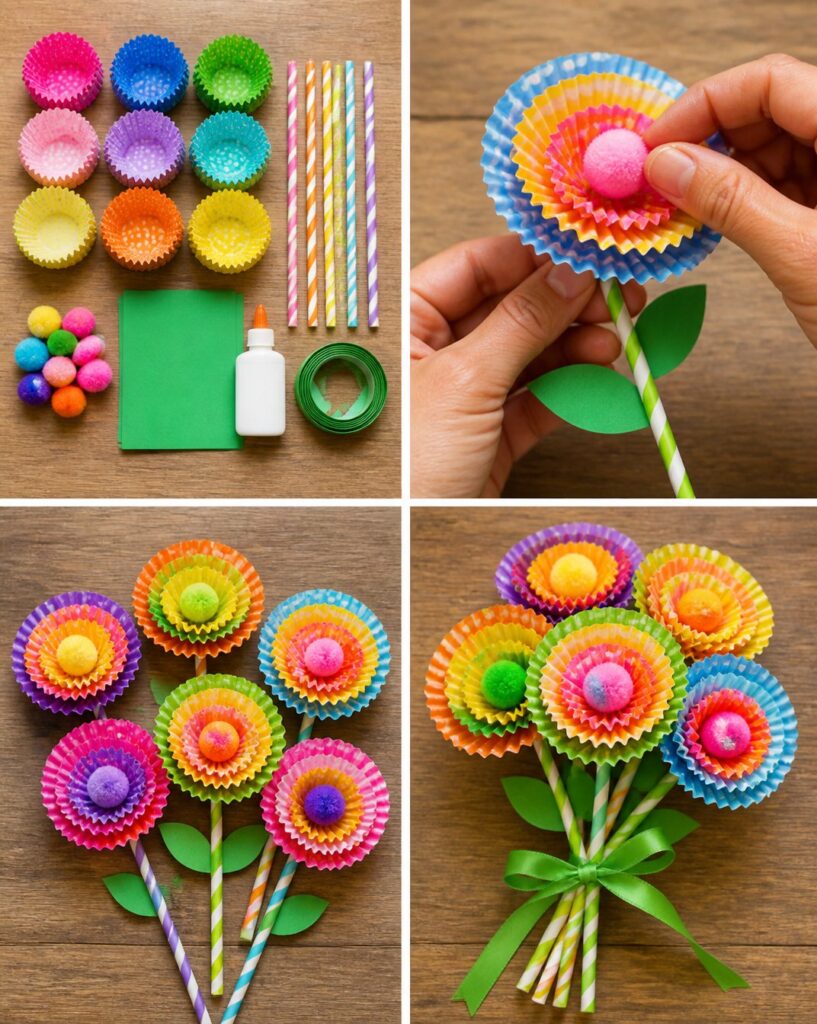
- Gather Your Flowers: Once all six flowers are made, gather them together and tie them with a pretty ribbon. You can adjust the arrangement as you like, making a charming bouquet.
Helpful Tips
- Secure the Glue: When gluing, be patient and hold each piece in place for a moment to avoid wobbly flowers.
- Clean Edges: If there’s excess glue, wipe it away with a wet cloth before it dries for a neater finish.
- Display Options: You can use a glass jar or vase filled with stones to hold your bouquet. It’s a lovely way to display your hard work.
- Supervise Kids: If working with young children, supervise them when using glue to avoid messy hands or unintended spills.
Easy Variations
- Seasonal Colors: Change the colors of the cupcake liners based on the seasons—think pastels for spring or warm tones for autumn.
- Different Sizes: Try using larger cupcake liners or stacking more than three for bigger flowers.
- Use Paint: If you have plain liners, consider painting or decorating them with markers before assembling.
- Add Glitter: For an extra sparkly touch, sprinkle some glitter onto the pom-poms or around the edges of the liners.
Making This Craft With Kids
This project is perfect for children, but adult supervision is needed especially when using glue to ensure they don’t use too much or get overly messy. Younger crafters might enjoy choosing colors and assembling the layers, while older kids can take charge of cutting out leaves and managing the glue.
How to Display or Use It
Your colorful cupcake-liner flower bouquet can brighten up any room when placed in a vase or jar. They make lovely centerpieces for parties or a thoughtful gift for a friend or loved one. You can even add a tag with a sweet note for an extra special touch.
Frequently Asked Questions
1. Can I make these flowers with different materials?
Yes! You can use other types of paper or even fabric pieces if you prefer.
2. How long will it take to complete this craft?
Typically, this project will take about 30-45 minutes, depending on how quickly you work.
3. Can I reuse the cupcake liners?
Once you’ve crafted with them, it’s best to keep this bouquet as a display item rather than try to reuse the materials.
4. What age is appropriate for this craft?
This project is great for all ages, but younger children will need help with cutting and gluing.
5. How can I store my bouquet?
Keep your bouquet in a dry place, and if you want to preserve it longer, consider displaying it in a glass jar.
This Colorful Cupcake-Liner Flower Bouquet is a joyful craft that brings creativity and color into your everyday life. Gather your materials and enjoy the process of making something beautiful!
Print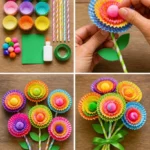
Colorful Cupcake-Liner Flower Bouquet
- Total Time: 45 minutes
- Makes: 6 flowers
Description
Create a delightful and cheerful bouquet using colorful cupcake liners, perfect for home or classroom decor.
Materials
- 18 colorful cupcake liners
- 6 paper straws
- 6 pom-poms
- Green cardstock
- Glue
- Ribbon
Instructions
- Layer the liners: Take three cupcake liners in different colors and stack them together, creating the flower’s petals.
- Glue the layers: Apply glue to the center of the stacked cupcake liners and press down to secure them together.
- Add the center: Place a pom-pom in the center of your layered cupcake liners and glue it down firmly.
- Attach to straws: Glue the bottom of the flower to a paper straw and hold in place for a few seconds.
- Create leaves: Cut out leaf shapes from green cardstock and glue them to the straw below the flower.
- Gather your flowers: Once all six flowers are made, gather them together and tie with a pretty ribbon.
Notes
If you don’t have paper straws, you can use sticks or thicker paper rolled into a tube. Supervise young children while using glue.