

Why You’ll Enjoy This Project
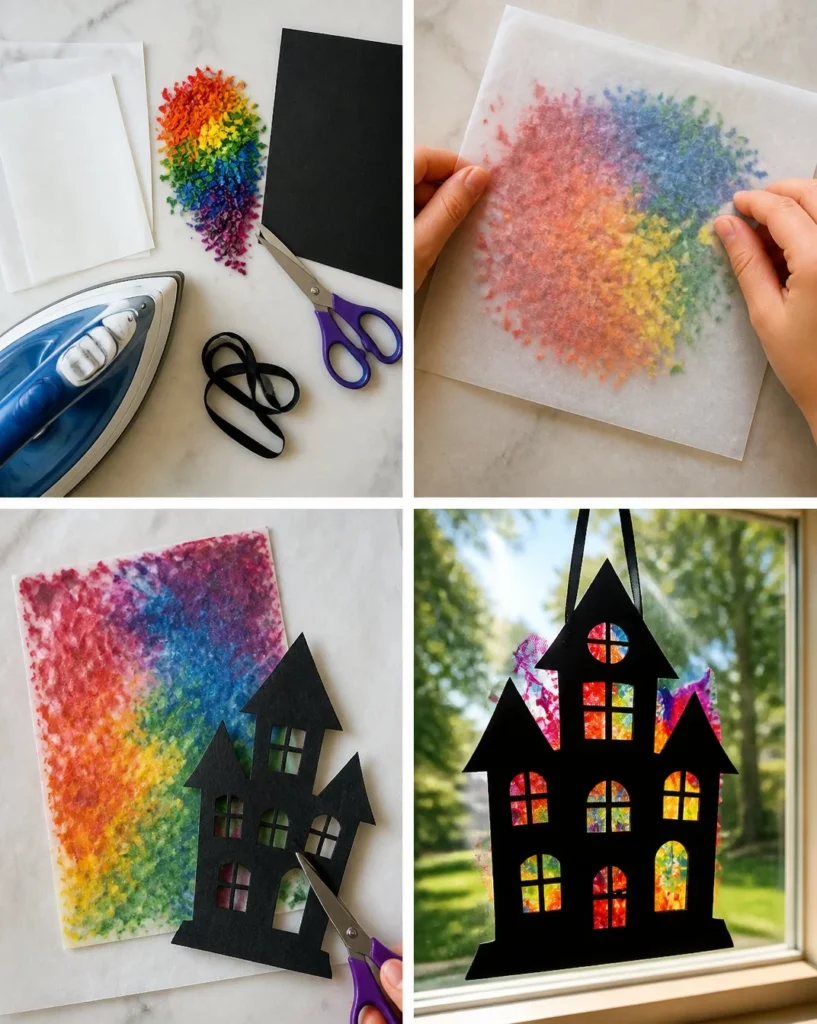
Creating a Melted Crayon Rainbow Haunted House Suncatcher is a delightful way to introduce some color and charm to your home, especially during the fall season. Here are a few reasons why this project is so enjoyable:
- Creative Expression: Children and adults alike can let their imaginations run wild by choosing vibrant crayon colors to create their rainbow masterpiece.
- Simple Steps: With just a few straightforward instructions, you’ll be able to craft this fun decoration without feeling overwhelmed.
- Nature-Inspired Art: This suncatcher not only brightens your space but is also a lovely way to repurpose old crayons.
- Interactive Time: This project is a great opportunity for family bonding. Whether it’s the excitement of melting crayons or designing a spooky silhouette, it’s all about the teamwork.
- Minimal Materials: The supplies needed are easy to find and affordable, making it a perfect choice for a casual craft day.
Materials You’ll Need
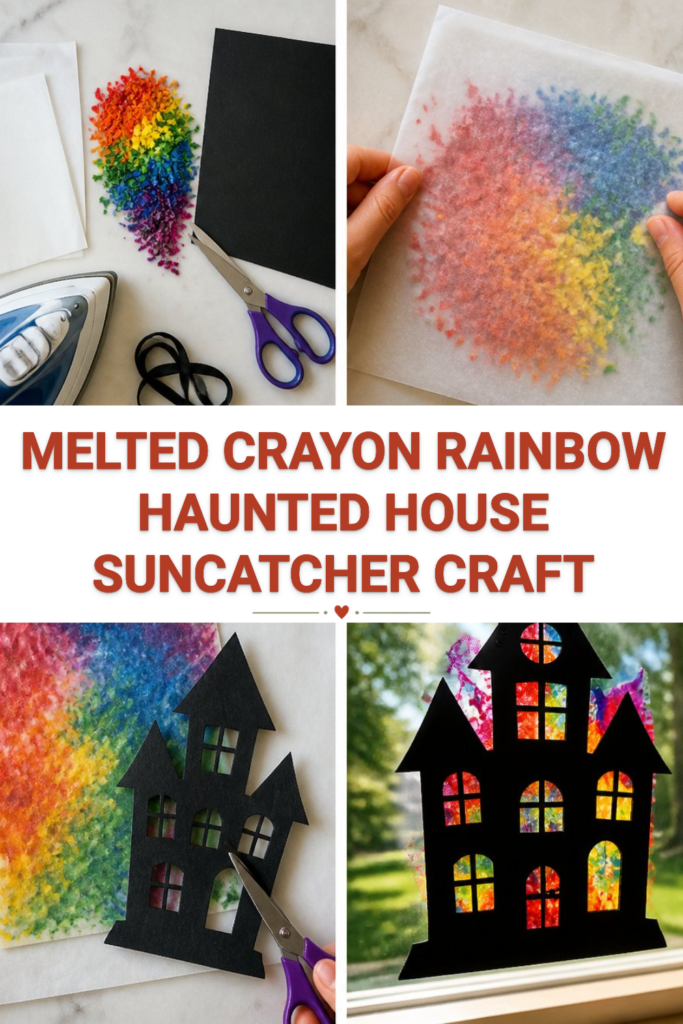
Gather these materials to create your Melted Crayon Rainbow Haunted House Suncatcher:
- Wax paper
- Rainbow crayon shavings (you can use old or new crayons)
- Black cardstock
- Parchment paper
- Iron
- Scissors
- Ribbon (for hanging)
Make sure to use non-toxic crayons to keep the project safe for kids. If you don’t have wax paper, you can use an old placemat or a baking mat as a substitute.
How to Make Melted Crayon Rainbow Haunted House Suncatcher
- Melt the Crayon Shavings
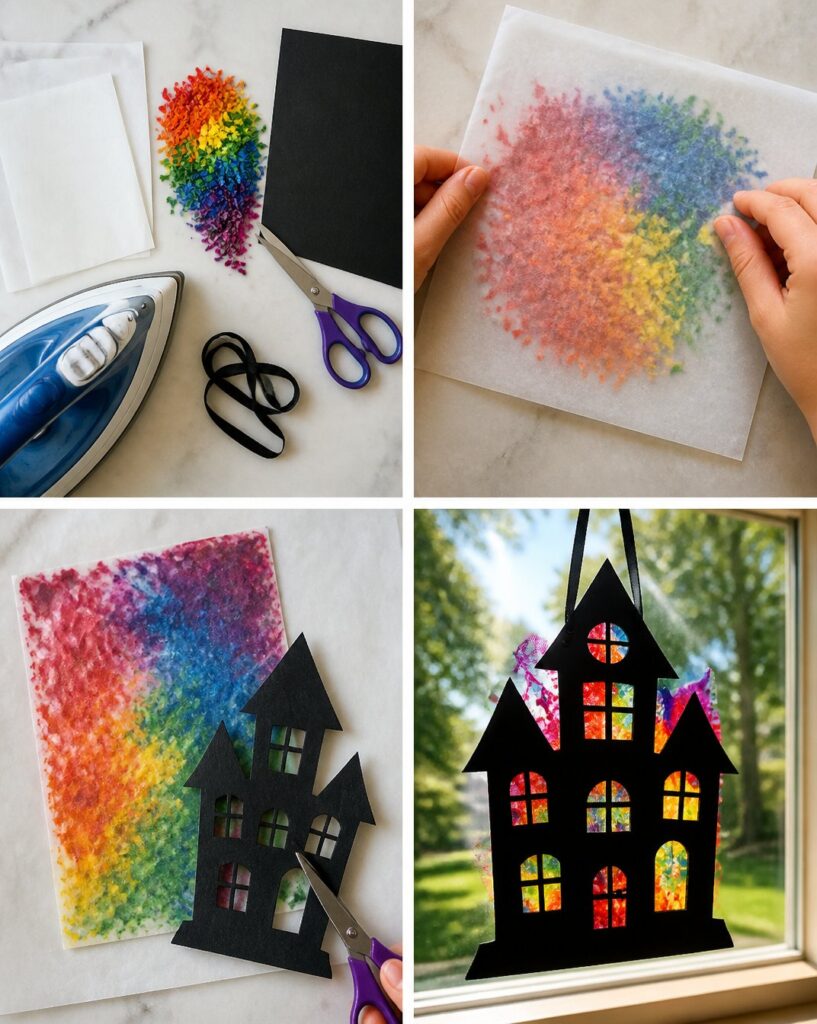
With adult help, use a grater to peel off bits of the crayons into shavings. Then, place these shavings between two sheets of wax paper. Carefully use an iron on a low setting to melt the crayons. Make sure to move the iron gently over the paper and avoid holding it in one place to prevent burning. - Cut the Haunted House Shape
Once the crayon shavings are melted and cooled, take a piece of black cardstock and carefully cut out a haunted-house silhouette. You can get creative with the design—think spires, windows, and doors! - Add the Colorful Layer
After cutting out your haunted house, flip it over and position the melted crayon sheet behind where the windows would be. This will transform your haunted house into a colorful work of art! - Display Your Suncatcher
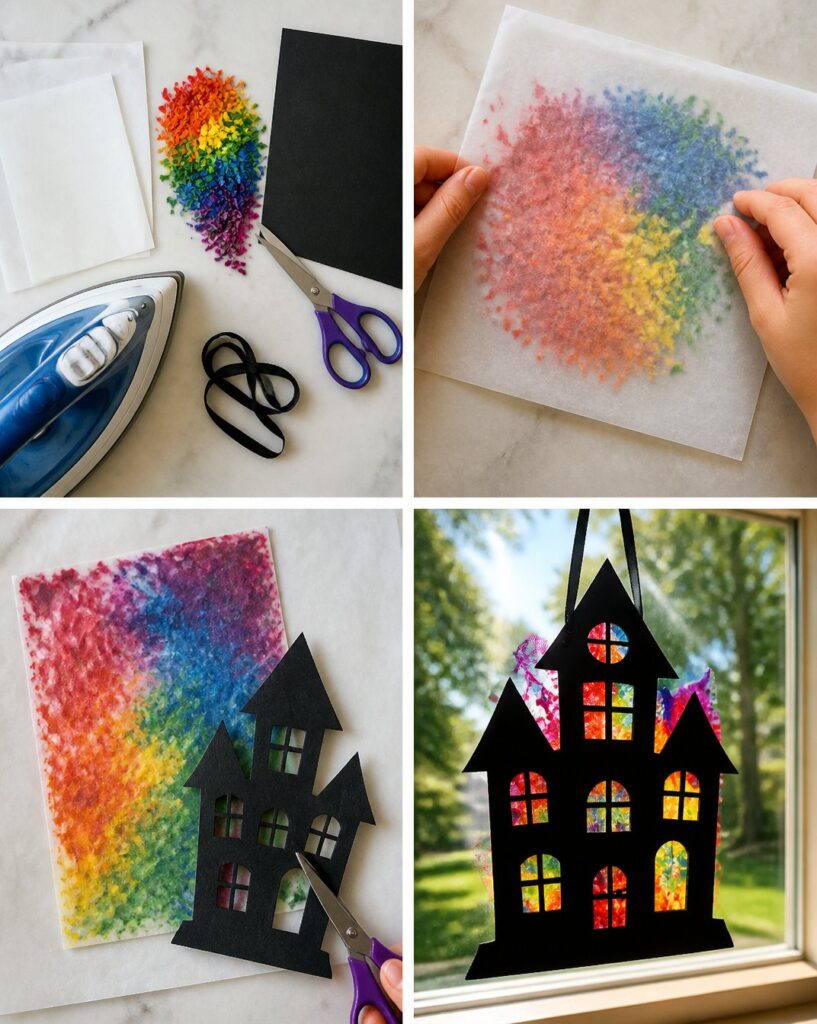
Finally, hang your creation in a sunny window using a ribbon. The sunlight will shine through the colorful melted crayons, creating a beautiful rainbow effect in your home!
Helpful Tips
- Safety First: Always ensure that an adult is present during the melting process, especially when handling the iron.
- Control the Melting: If the melted crayons seem too liquidy, try using a lower heat setting on the iron. If they’re difficult to melt, slightly increase the heat, but monitor closely.
- Stay Clean: Place newspaper or parchment paper around your workspace to catch any crayon shavings or wax spills.
- Customization: Experiment with overlapping colors when melting the crayon shavings to create unique blends that mimic the look of stained glass.
Easy Variations
- Seasonal Themes: Change the cardstock cutout to other shapes like pumpkins for fall or hearts for Valentine’s Day.
- Different Colors: Use a monochromatic palette or only cool colors (blues and greens) for a serene look.
- Size Matters: Instead of a large haunted house, try smaller versions for a fun clustered display.
- Texture Play: Add tiny craft foam shapes to the haunted house for dimensional windows or doors.
- Nature Tribute: Incorporate pressed fall leaves or twigs into the design before melting the crayon shavings for a nature-inspired effect.
Making This Craft With Kids
This project is wonderful for kids, but adults should supervise the melting step as it involves heat. Kids can take charge of grating the crayons and cutting out the haunted house shape, making it a fun, collaborative activity.
How to Display or Use It
Your Melted Crayon Rainbow Haunted House Suncatcher can brighten any window and is a fantastic way to welcome the fall season. Besides hanging it in the window, consider gifting it to a friend or family member as a unique and personal decoration. You can also store it as a seasonal keepsake or integrate it into your Halloween decorations each year.
Frequently Asked Questions
- Can I use other types of paper instead of wax paper?
While wax paper is ideal for melting crayons, you can use parchment paper if it’s what you have on hand. - What should I do if the crayons don’t melt properly?
Make sure your iron is on a low setting, and try gently moving the iron continuously to distribute the heat evenly. - Is this project safe for younger children?
While kids can participate in most steps, an adult should always handle the melting of the crayon shavings. - How can I clean up any wax spills?
If wax drips, let it cool and then peel it off surfaces. You can use a paper towel with a bit of heat to help lift stubborn stains if necessary. - What if my design tears when cutting the cardstock?
If that happens, you can always add another layer of cardstock with a different design or use scissors carefully to mend the cuts. - Can I use a hairdryer instead of an iron?
A hairdryer could work, but it may take longer to melt the crayon shavings. Just keep it on a low heat setting and maintain a safe distance to avoid overheating.
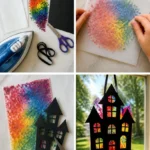
Melted Crayon Rainbow Haunted House Suncatcher
- Total Time: 15 minutes
- Makes: 1 suncatcher
Description
A vibrant and charming suncatcher project perfect for welcoming the fall season.
Materials
- Wax paper
- Rainbow crayon shavings
- Black cardstock
- Parchment paper
- Iron
- Scissors
- Ribbon (for hanging)
Instructions
- Melt the crayon shavings between two sheets of wax paper using a low setting on an iron.
- Cut out a haunted house shape from the black cardstock.
- Add the melted crayon sheet behind the windows of the haunted house.
- Display the suncatcher in a sunny window using a ribbon.
Notes
Ensure an adult supervises the melting process. Use non-toxic crayons for safety.