
Why You’ll Enjoy This Project
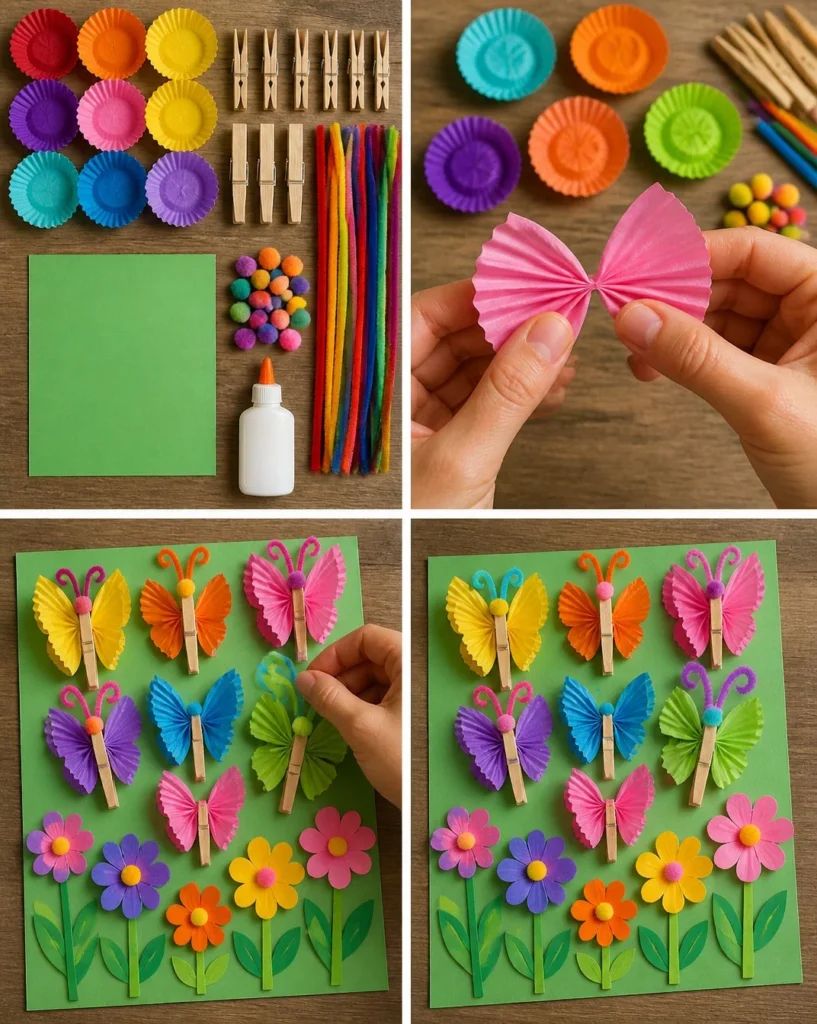
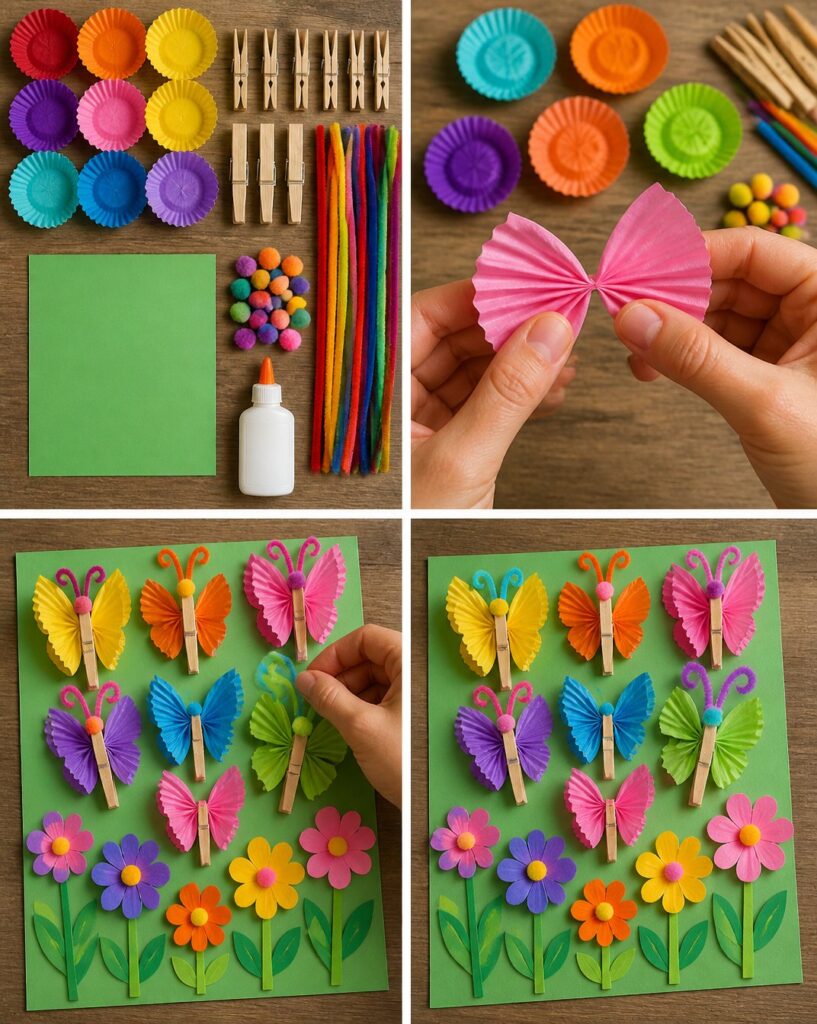
Creating a Rainbow Cupcake-Liner Butterfly Garden is a delightful way to bring a splash of color and creativity into your home. This project is not only simple and fun, but it also encourages imaginative play. You’ll have beautiful butterflies fluttering across a cardstock base in no time. Plus, it’s a fantastic opportunity for families to bond as they craft together!
The best part? You can use everyday materials you already have around the house, making it both budget-friendly and eco-conscious. The vibrant colors of the cupcake liners will brighten any windowsill or classroom. Let’s get started on making these charming butterflies!
Materials You’ll Need
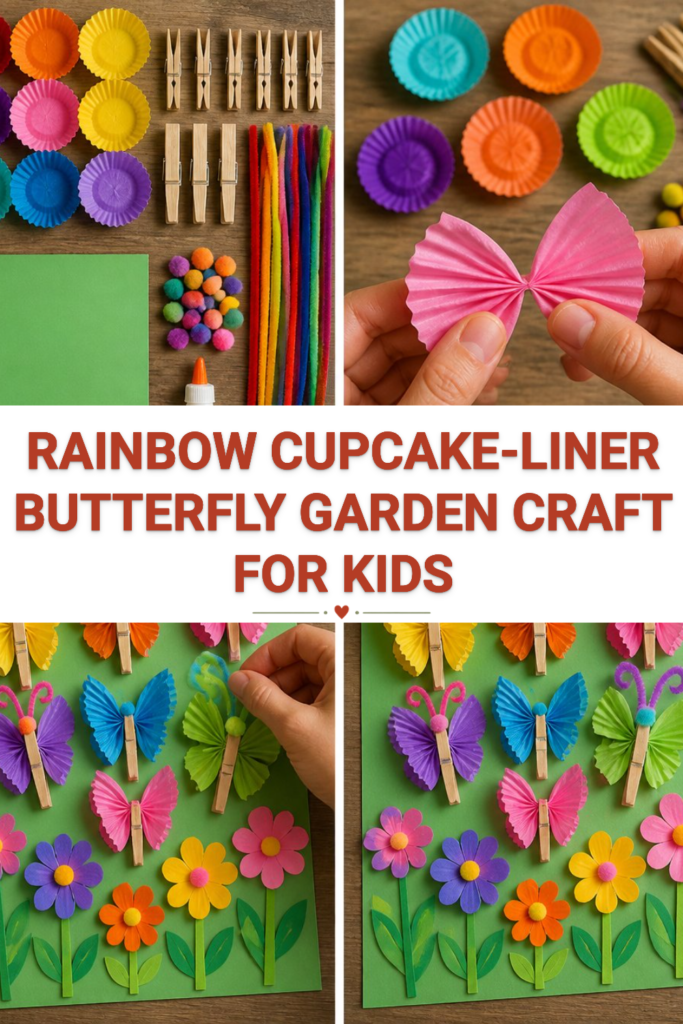
- 16 colorful cupcake liners
- 8 clothespins
- Pipe cleaners
- Pom-poms (for added decoration)
- 12 × 12-inch cardstock (any color)
- Glue
Feel free to use any cupcake liners you have on hand, as long as they are colorful. If you don’t have pom-poms, you can leave them out or use small bits of tissue paper instead for decoration.
How to Make Rainbow Cupcake-Liner Butterfly Garden
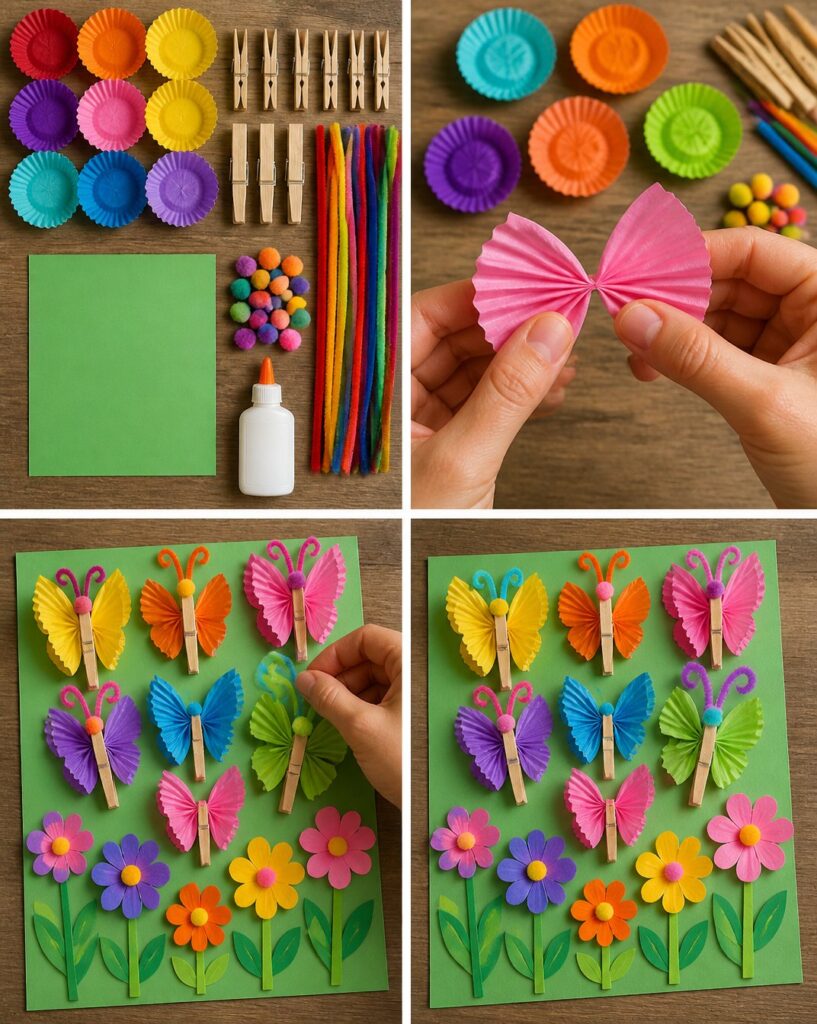
- Flatten and Pinch Cupcake Liners into Butterfly Wings: Take two cupcake liners, and flatten them out. Pinch the center to create a “wing” shape. You can adjust how much you pinch to create larger or smaller wings, depending on your preference.
- Clip Each Pair with a Clothespin Body: Align the pinched cupcake liners so they form a butterfly shape, then take a clothespin and clip the liners in the center. This becomes the body of your butterfly. If the liners slide around a bit, just hold them in place while you clip.
- Add Antennae Using Pipe Cleaners: Cut a pipe cleaner into two equal pieces. Poke one end of each piece into the top of the clothespin to create antennae. You can bend the pipe cleaners to give the antennae a fun shape!
- Arrange the Butterflies Across Cardstock: Take your 12 × 12-inch cardstock and start placing your butterflies across it. Get creative with the layout! To add some extra flair, glue on colorful paper flowers made from leftover cupcake liners or other paper scraps.
Helpful Tips
- For easier assembly, make sure to use flat surfaces to press down on the cupcake liners. This helps them hold their shape better.
- If you’re using glue, apply it sparingly to avoid mess. A small dot in each place will work well.
- After you arrange your butterflies, let the glue dry for a few minutes before moving your finished project.
- To display, consider using a small easel or frames to showcase your garden indoors.
Easy Variations
- Seasonal Colors: Use cupcake liners in different colors to represent seasons—pastels for spring, warm colors for autumn, or even spooky colors for Halloween!
- Bigger Butterflies: Use larger or additional cupcake liners for bigger butterflies. Experiment with various patterns.
- Nature Elements: Incorporate natural materials like twigs or leaves for a mixed-media effect that echoes the outdoors.
- Themed Gardens: Create a garden with specific themes, like a rainbow color scheme or butterflies specific to a favorite movie or story.
Making This Craft With Kids
Crafting this project is perfect for kids, but adults may need to help with the cutting of the pipe cleaners, especially if using scissors. Make it a collaborative experience where children choose their favorite colors for the butterflies, fostering creativity and choice.
How to Display or Use It
Once your Rainbow Cupcake-Liner Butterfly Garden is complete, you can display it on a table, hang it on a wall, or even use it as a colorful backdrop for a play area. It makes a thoughtful gift to brighten someone else’s space or can decorate a classroom for a cheerful atmosphere.
Frequently Asked Questions
Q: Can I make different types of butterflies with the same materials?
A: Absolutely! You can experiment with different shapes and sizes of wings or even add more decorations.
Q: What if I don’t have colored cupcake liners?
A: You can use plain liners and decorate them with markers or paints to add color.
Q: How can I make the butterflies more durable?
A: If you’re concerned about durability, consider using stronger cardstock for the base or using strong craft glue for securing the components.
Q: How long does this project take?
A: The project usually takes about 30 minutes, including drying time for the glue.
Q: Can we use this craft for a party?
A: Definitely! These butterflies can be a fun activity at a party, letting guests create their own unique designs.
Q: What if my butterflies don’t stay in place after arranging them?
A: If they slide around, use additional glue at the base of the clothespins to secure them firmly to the cardstock.
Rainbow Cupcake-Liner Butterfly Garden
- Total Time: 30 minutes
- Makes: 1 Butterfly Garden
Description
A delightful and colorful project that allows you to create beautiful butterfly decorations using everyday materials.
Materials
- 16 colorful cupcake liners
- 8 clothespins
- Pipe cleaners
- Pom-poms (for added decoration)
- 12 × 12-inch cardstock (any color)
- Glue
Instructions
- Flatten and pinch cupcake liners into butterfly wings.
- Clip each pair with a clothespin to form the body.
- Add antennae using pipe cleaners.
- Arrange the butterflies across cardstock and glue on decorative elements.
Notes
Make sure to use flat surfaces for better assembly and apply glue sparingly to avoid mess.