
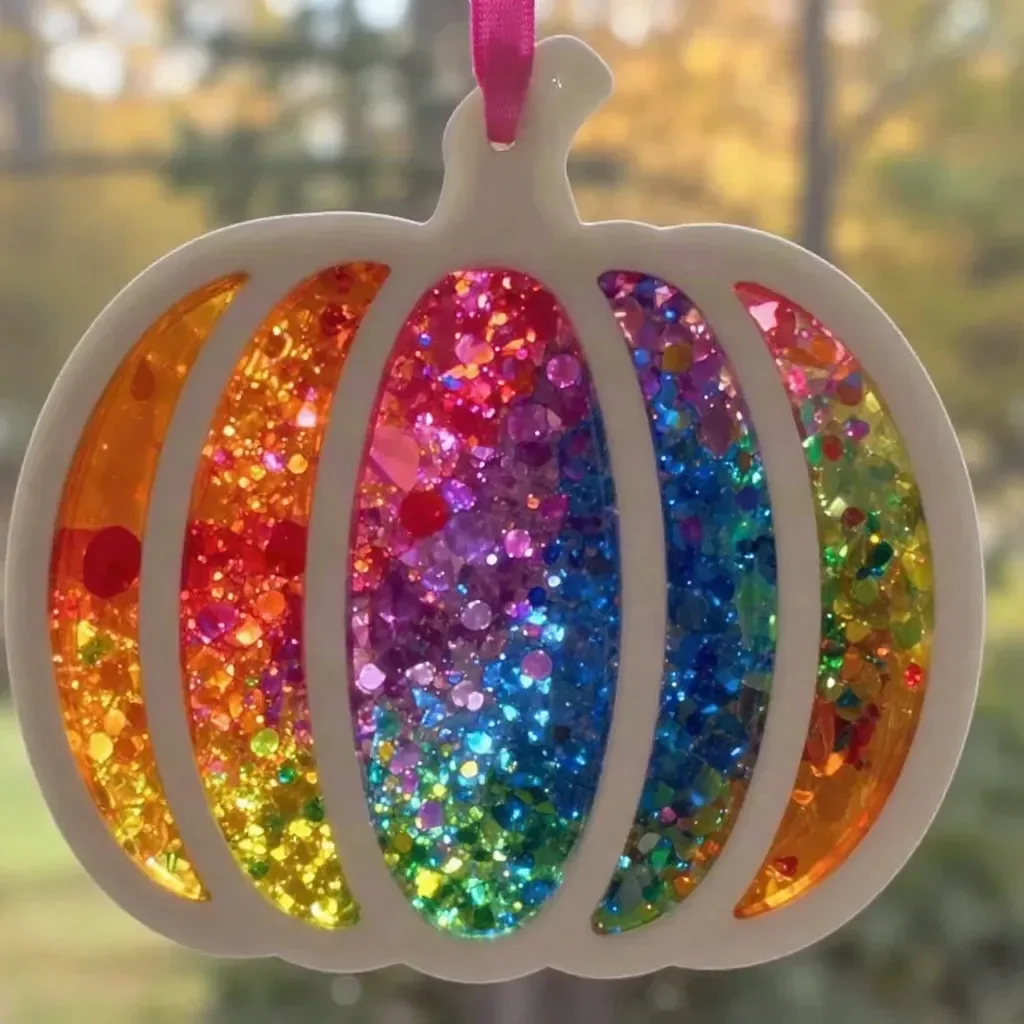
Rainbow Melted-Crayon Pumpkin Suncatcher
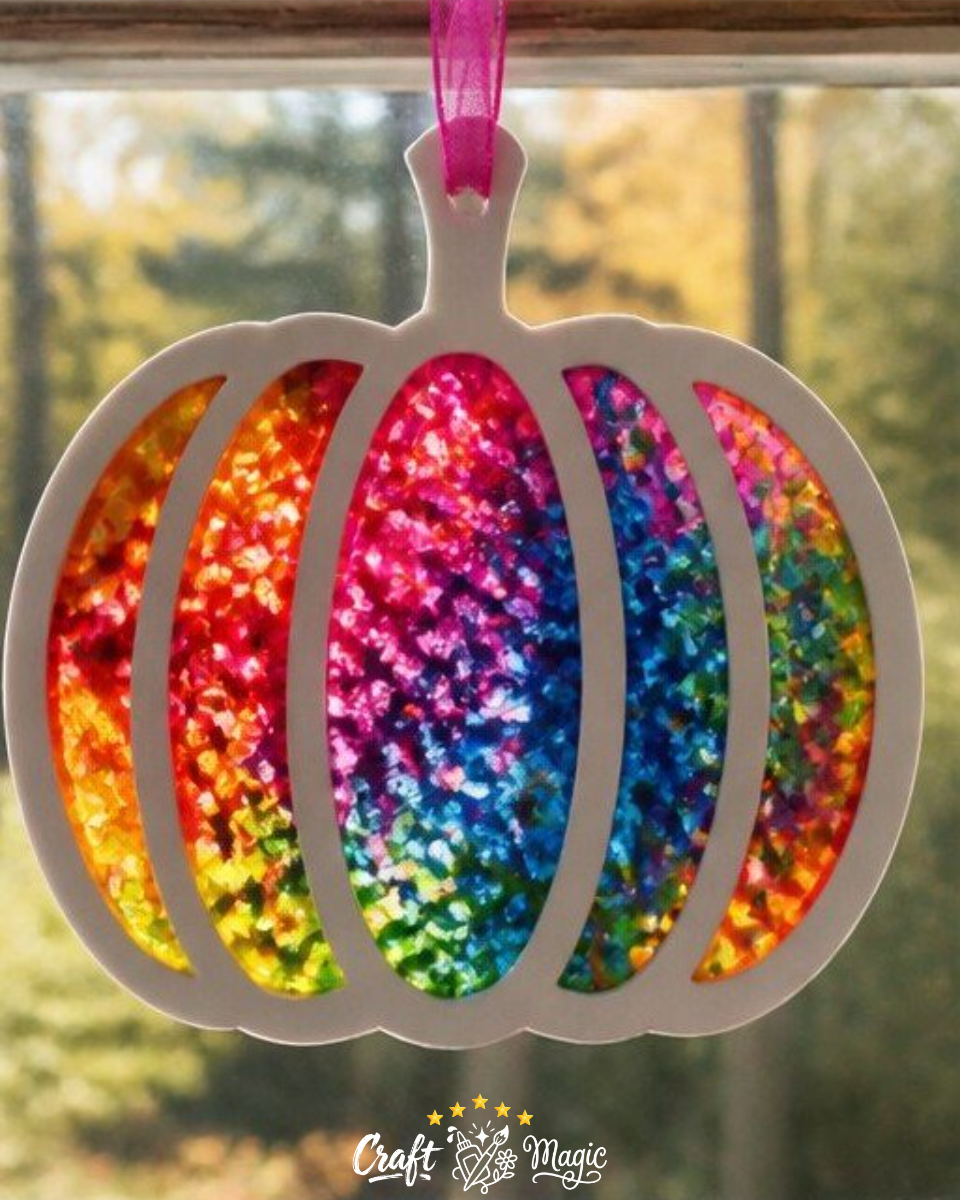
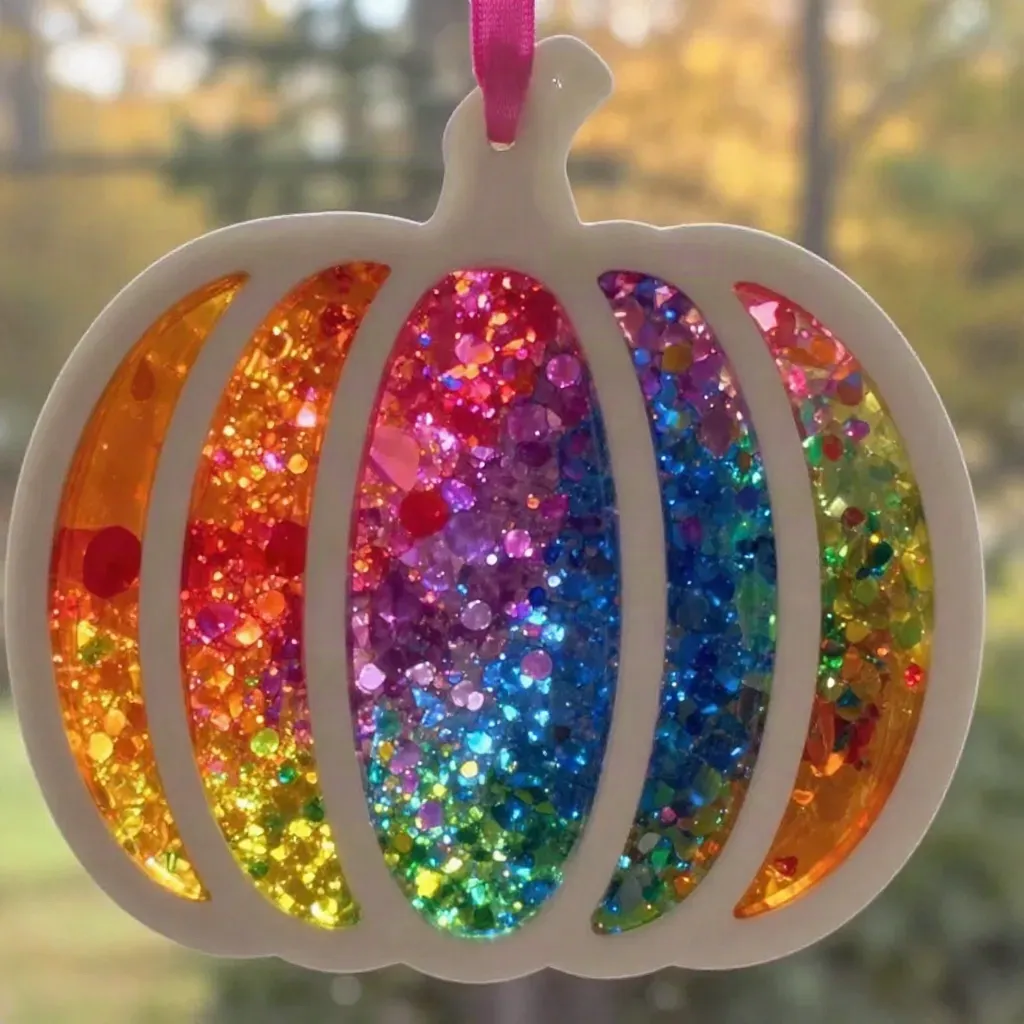
Creating a Rainbow Melted-Crayon Pumpkin Suncatcher is a delightful way to add a splash of color to your fall decorations. This project utilizes simple materials like wax paper and crayon shavings to produce a vibrant pumpkin shape that reflects light beautifully. The process is satisfying and approachable, making it perfect for crafters of all ages, especially families looking to enjoy a hands-on activity together. You may also find Melted Crayon Rainbow Heart Suncatcher For Kids useful.
Materials You’ll Need
Before getting started, gather the following materials for your Rainbow Melted-Crayon Pumpkin Suncatcher:
- Wax paper
- Rainbow crayon shavings
- Pumpkin template
- Cardstock
- Iron
- Ribbon
How to Make Rainbow Melted-Crayon Pumpkin Suncatcher
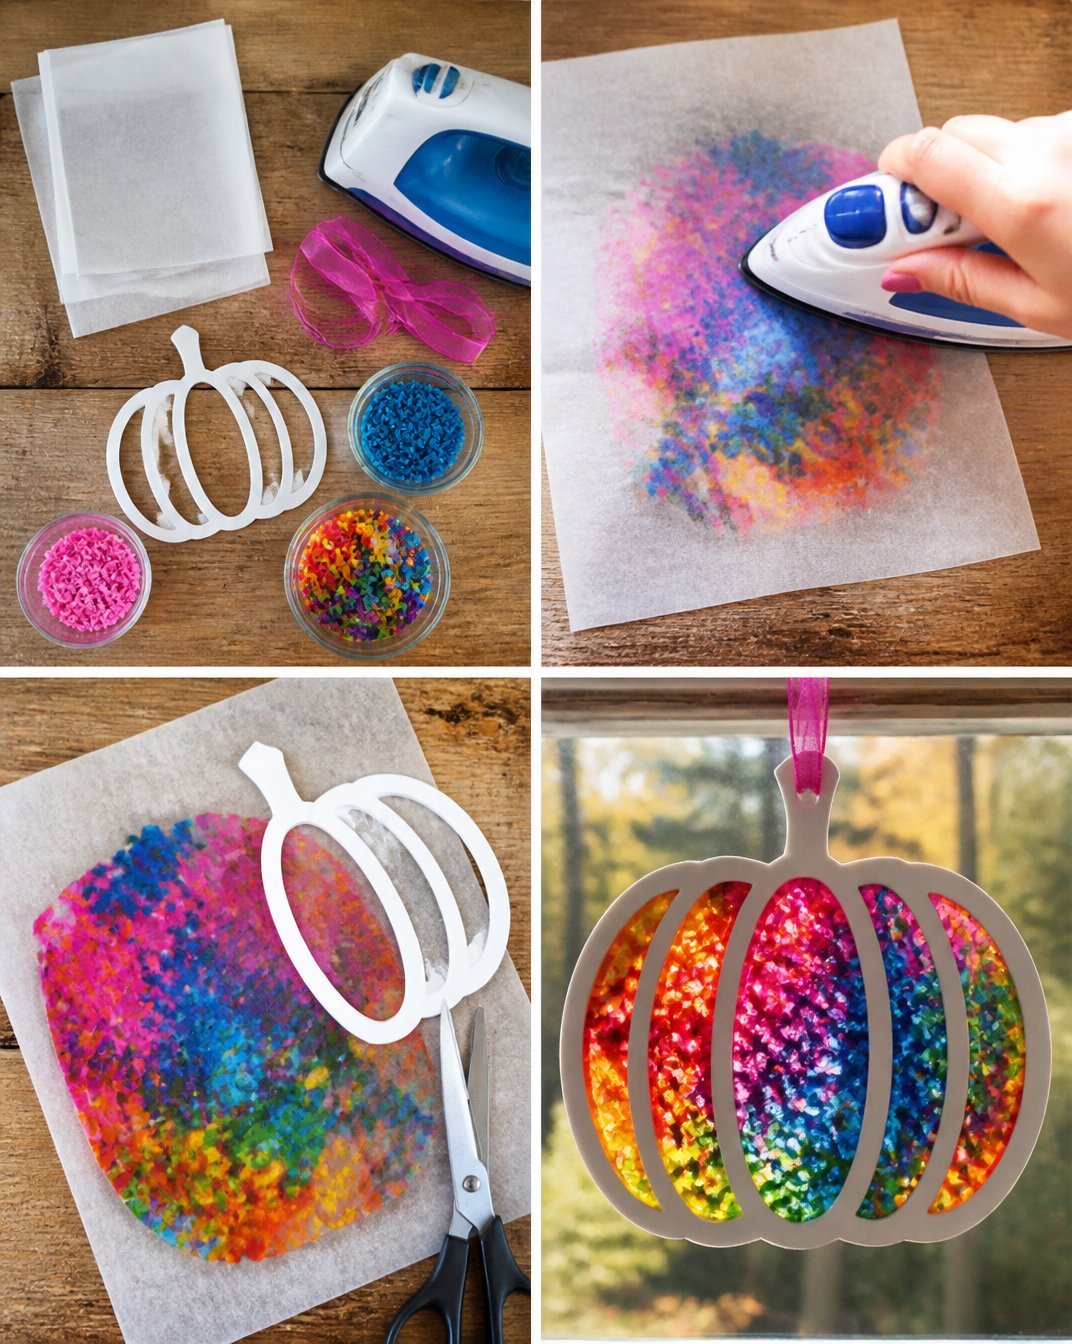
This craft project involves melting crayon shavings to create a colorful, translucent pumpkin shape. Follow these steps for a beautiful result:
Prepare the Crayon Shavings: Start by sharpening your rainbow crayons. Collect the shavings in a bowl; you’ll want a variety of colors for that vibrant pumpkin hue.
Melt the Shavings: Place a layer of wax paper on your work surface. Sprinkle the crayon shavings evenly between two sheets of wax paper. Gently press down on the top layer of wax paper with an iron set to a low heat. It’s important to have adult supervision for this step to ensure safety. As the wax warms, the crayon shavings will begin to melt, creating a marbled effect.
Allow to Cool: Once the shavings are melted and merged into a colorful design, remove the wax paper from the heat and allow it to cool completely.
Cut Out the Pumpkin Shape: Use your pumpkin template to trace and cut out the pumpkin shape from the melted crayon wax paper. Make sure to cut carefully to maintain the integrity of the design.
Frame with Cardstock: To give your suncatcher some stability, glue the cut-out pumpkin shape onto a piece of cardstock. This will be the frame that helps it hold its form.
Hang with Ribbon: Finally, use a ribbon to create a loop for hanging. Attach it to the top of your pumpkin, and it’s ready to be displayed!
This project is a fantastic way to engage children in crafting while encouraging them to express their creativity. After you’ve enjoyed this project, consider checking out other fun ideas like the melted crayon rainbow butterfly suncatcher or the melted crayon rainbow haunted house suncatcher craft for even more colorful creations!
Helpful Tips
- Safety First: Ensure children are supervised while using the iron, as it can get very hot.
- Experiment with Colors: Don’t hesitate to mix and match different colors for your suncatcher. The more colorful, the better!
- Display Ideas: These suncatchers look stunning in windows where sunlight can filter through, creating stunning rainbows in your space.
Frequently Asked Questions
Can I use different shapes besides pumpkins?
Absolutely! You can create any shape that you like as long as it fits within the melting process. Consider crafting hearts or stars for other seasonal decorations.
How should I store my melted crayon projects?
To keep your suncatchers looking their best, store them in a cool, dry place away from direct sunlight when not displayed.
Is there a specific type of crayon I should use?
Standard wax crayons work well for this project. Special glitter or metallic crayons can also add unique effects, but they may alter the melting process slightly.
Conclusion
Creating a Rainbow Melted-Crayon Pumpkin Suncatcher is a fun and interactive craft that brings color and creativity into your home. Not only is it a fantastic way to spend time with loved ones, but it also adds a beautiful touch to your autumn décor. For more ideas on fun crayon projects, check out this Melted Crayon Pumpkin which is another great way to celebrate the season!
Print
Rainbow Melted-Crayon Pumpkin Suncatcher
- Total Time: 25 minutes
- Makes: 1 suncatcher
Description
Create a vibrant pumpkin-shaped suncatcher using melted crayon shavings for a colorful fall decoration.
Materials
- Wax paper
- Rainbow crayon shavings
- Pumpkin template
- Cardstock
- Iron
- Ribbon
Instructions
- Prepare the crayon shavings by sharpening crayons and collecting shavings in a bowl.
- Melt the shavings between two sheets of wax paper using a low-heat iron.
- Allow the melted crayon wax paper to cool completely.
- Cut out the pumpkin shape using your template.
- Frame the pumpkin by gluing it onto a piece of cardstock.
- Hang the pumpkin using a ribbon loop at the top.
Notes
Ensure children are supervised when using an iron. Experiment with colors for a unique design.