
Why You’ll Enjoy This Project
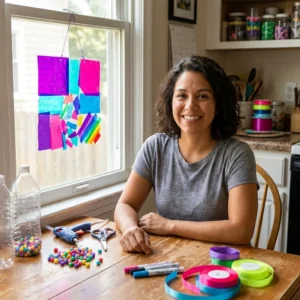
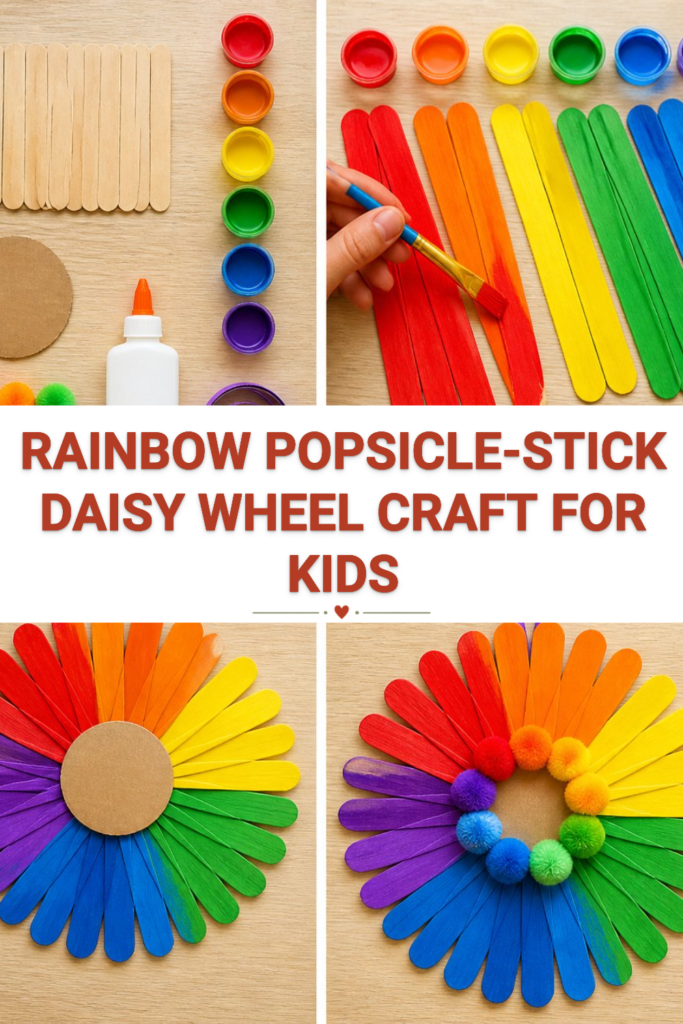
Creating a Rainbow Popsicle-Stick Daisy Wheel is a joyful way to bring color and cheer into your home! This project is perfect for families and crafters of all ages because it allows for creativity and personalization while being simple to follow. Here are a few reasons you’ll love making this craft:
- Bright and Colorful: The vibrant rainbow colors make this daisy wheel a delightful decoration for any room.
- Easy Assemblies: With just a few steps, you can create a beautiful piece without needing advanced crafting skills.
- Nature-Inspired: Using popsicle sticks and common craft supplies encourages thinking about sustainability and repurposing materials.
- Great for Display: Once finished, the daisy wheel can be hung up, adding a special handmade touch to your decor.
Materials You’ll Need
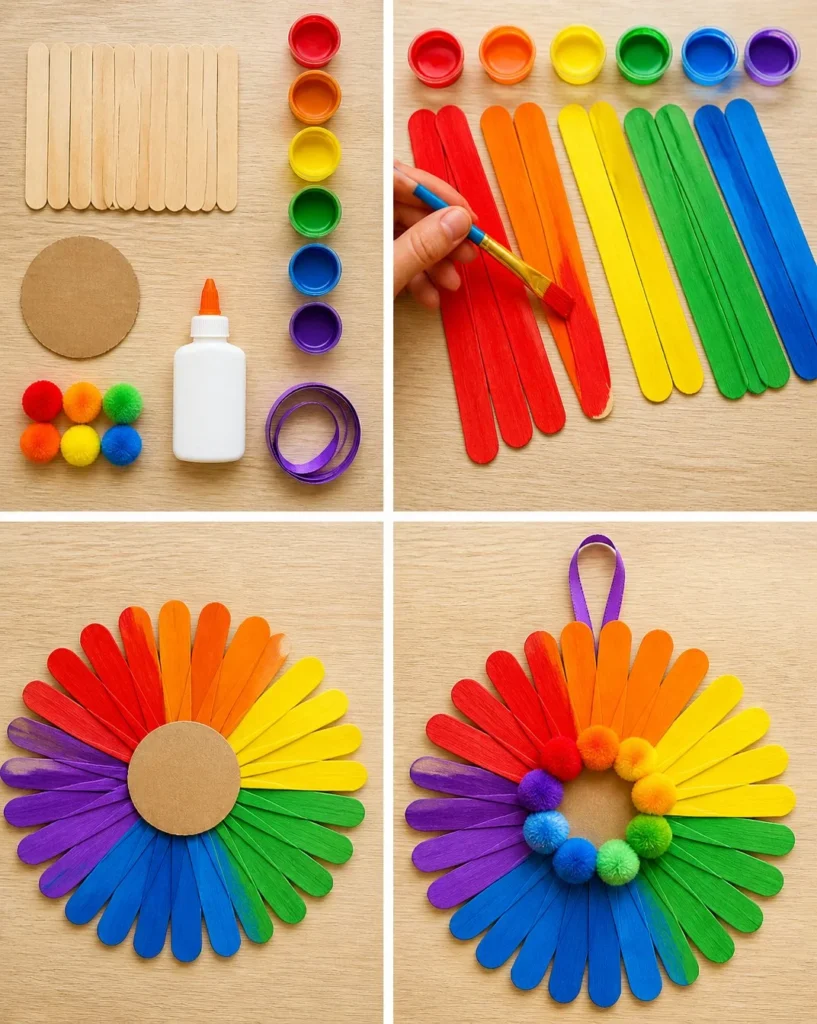
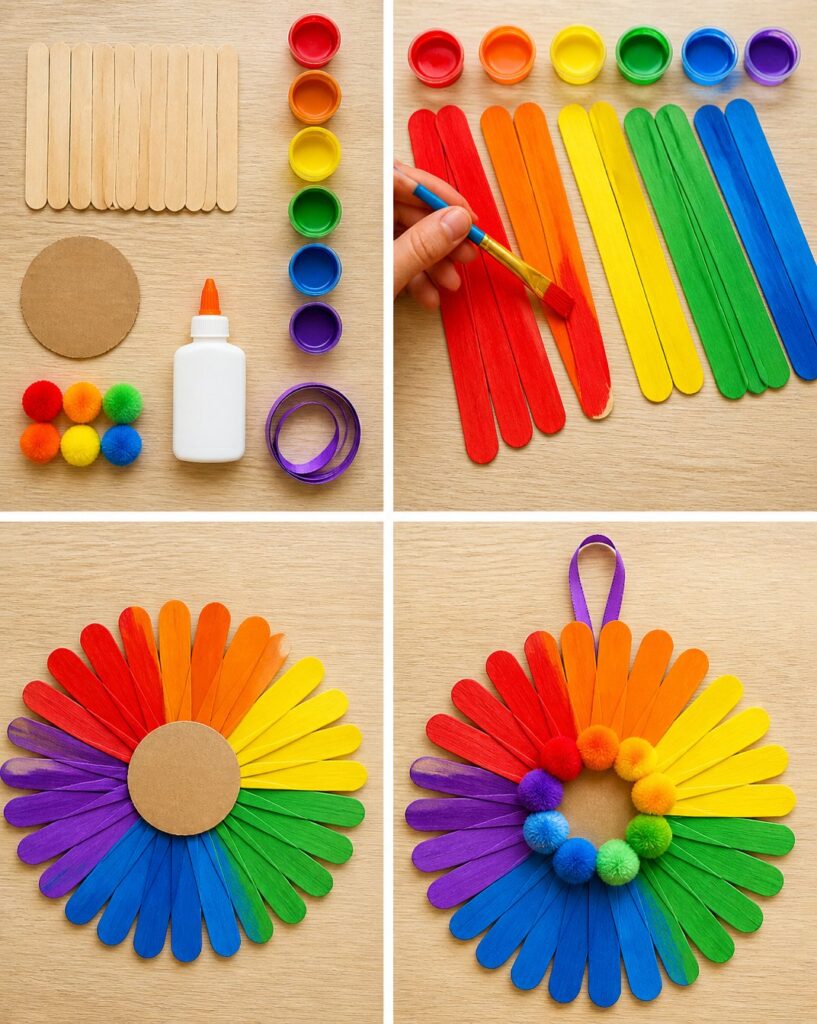
To make your Rainbow Popsicle-Stick Daisy Wheel, gather the following materials:
- 30 craft sticks
- 6 acrylic paint colors (choose your favorite rainbow colors)
- 1 cardboard circle
- 6 pom-poms (colorful)
- Glue (preferably a strong craft glue)
- Ribbon (for hanging)
Feel free to substitute any paint colors, or use different sizes of pom-poms based on what you have on hand!
How to Make Rainbow Popsicle-Stick Daisy Wheel
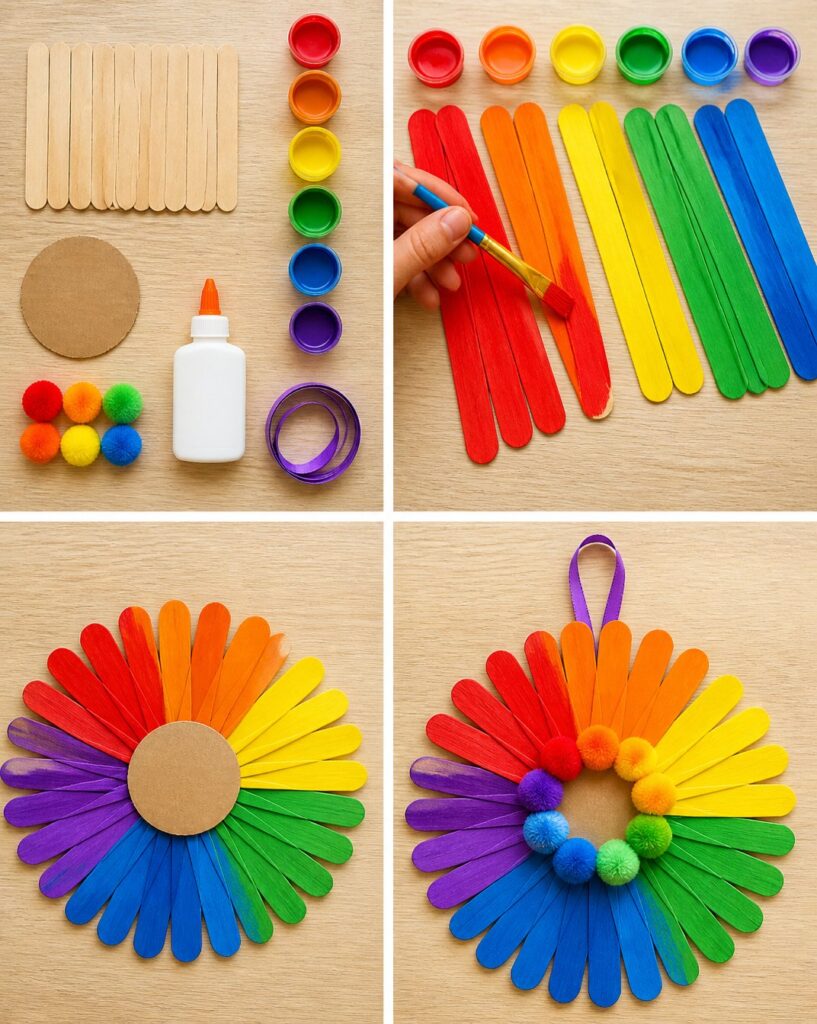
Step 1: Paint Craft Sticks
Start by painting groups of craft sticks in six different rainbow colors. To make this process easier, organize your sticks into groups of five and paint each group a different color. Allow them to dry completely beforehand to avoid smudging or mixing colors.
Step 2: Arrange the Petals
Once the paint is dry, take your cardboard circle and begin arranging the painted craft sticks around it to form overlapping flower petals. Start from the bottom and work your way around, ensuring that the ends of the sticks slightly overlap, creating a layered look.
Step 3: Secure the Pom-Poms
After you’ve positioned all your craft sticks, apply glue to the center of the cardboard circle. Press the colorful pom-poms into the glue so they remain secure. This will act as the flower center, adding a fun, fluffy touch to your daisy!
Step 4: Add Ribbon
Finally, tie a piece of ribbon through a small hole at the top of the cardboard circle. This will make it easy to hang your completed Rainbow Popsicle-Stick Daisy Wheel wherever you like.
Helpful Tips
- Easier Assembly: When gluing the sticks, start with one color and add more gradually. This way, you can adjust the placement more easily.
- Cleaner Results: Keep a damp cloth nearby to wipe any excess paint off your hands or the workspace.
- Placement During Drying: Allow each painted group of sticks to dry on a clean, flat surface to prevent them from sticking together.
- Displaying: For a nice touch, consider adding a dab of glue under each stick once you finalize their placement to ensure they stay put.
Easy Variations
- Color Themes: Create a daisy wheel using shades of your favorite color or seasonal colors like pastels for spring.
- Larger Size: Use larger cardboard circles or more craft sticks to create a bigger daisy wheel and make a striking display.
- Seasonal Touches: Add small decorative items like glitter or seasonal elements (like leaves in the fall) around the petals for a festive look.
- Different Shapes: Instead of a circle, try using a heart-shaped cardboard base for a variation for special occasions like Valentine’s Day.
Making This Craft With Kids
This project is perfect for children, but adults will need to supervise during the painting and gluing stages. Be cautious with glue and keep it out of reach of very young crafters. Let kids choose their favorite colors and help with arranging the craft sticks to enhance their creativity!
How to Display or Use It
The finished Rainbow Popsicle-Stick Daisy Wheel can be hung in various places. Consider displaying it in a window, on a door, or even as part of a nature-themed wall decoration. It’s also a lovely gift for friends and family or a fun addition to a classroom decor.
Frequently Asked Questions
Q: How long do the painted craft sticks take to dry?
A: Drying times vary based on paint type and humidity. Generally, letting them dry for about 30 minutes to an hour should be sufficient.
Q: What if I don’t have a cardboard circle?
A: You can cut a circle out of any sturdy paper or cardboard material, like a cereal box, to use instead.
Q: Can I use a different kind of glue?
A: Yes, you can use hot glue for a quicker set time, but be cautious with children. Craft glue works well and is safer for younger crafters.
Q: How can I hang it?
A: Simply use the attached ribbon to tie it to a hook, nail, or even a fun branch for a natural look.
Q: Is it okay to let kids use the paint themselves?
A: Yes, but it’s best for adults to supervise to keep messes minimal and assist with clean-up.
Q: How can I adapt this project for younger children?
A: You can pre-paint the craft sticks and let younger children focus on arranging and gluing the sticks and pom-poms.
Rainbow Popsicle-Stick Daisy Wheel
- Total Time: 45 minutes
- Makes: 1 daisy wheel
Description
A colorful and fun craft project perfect for families, creating a beautiful daisy wheel out of popsicle sticks.
Materials
- 30 craft sticks
- 6 acrylic paint colors
- 1 cardboard circle
- 6 colorful pom-poms
- Glue (strong craft glue)
- Ribbon (for hanging)
Instructions
- Paint craft sticks in six different rainbow colors and allow to dry.
- Arrange the painted craft sticks around the cardboard circle to form petals.
- Secure the colorful pom-poms in the center with glue.
- Add a piece of ribbon for hanging the daisy wheel.
Notes
Start with one color when gluing the sticks for easier assembly. Keep a damp cloth nearby for clean-up, and allow each painted group to dry separately.